rgb(x,x,x);
rgba(x,x,x,y)
Where x is 0 (black) to 255 (white) Where y is 0.0-1.0
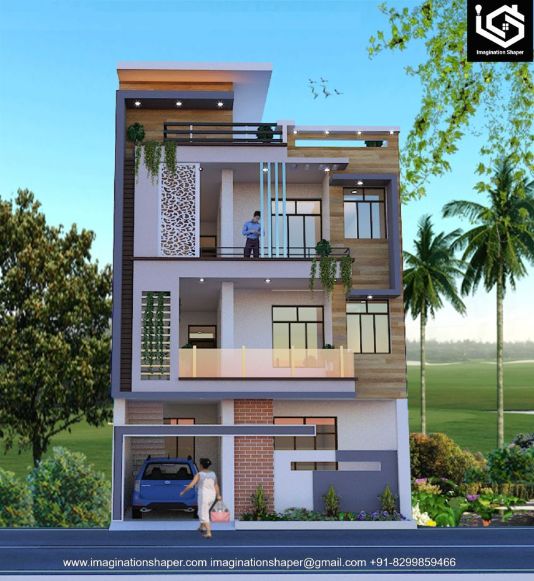
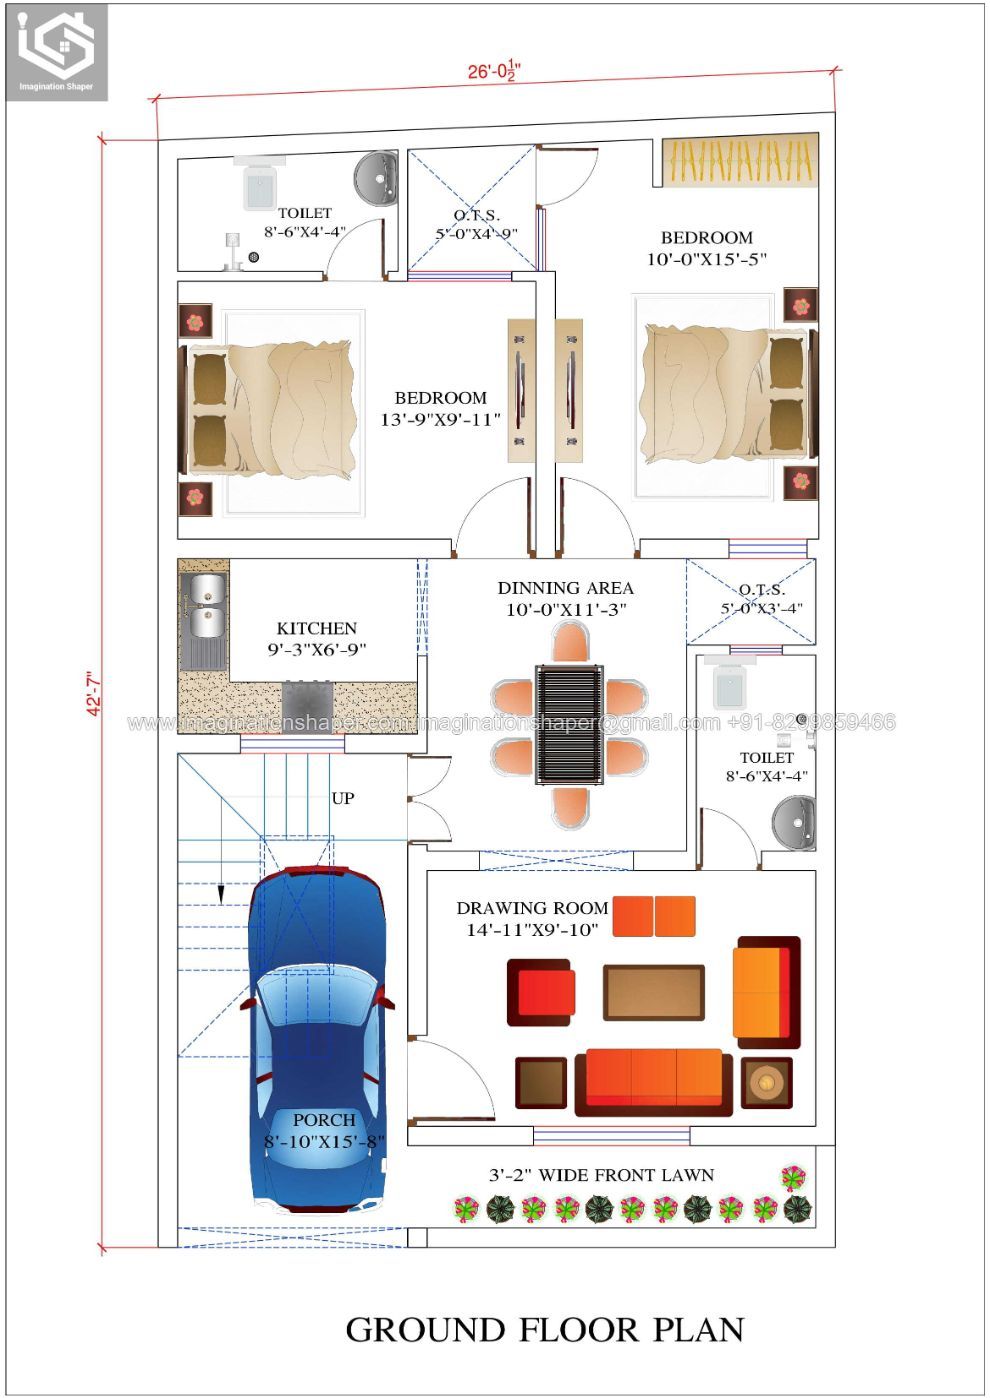
By https://www.imaginationshaper.com/design-category/house-map/
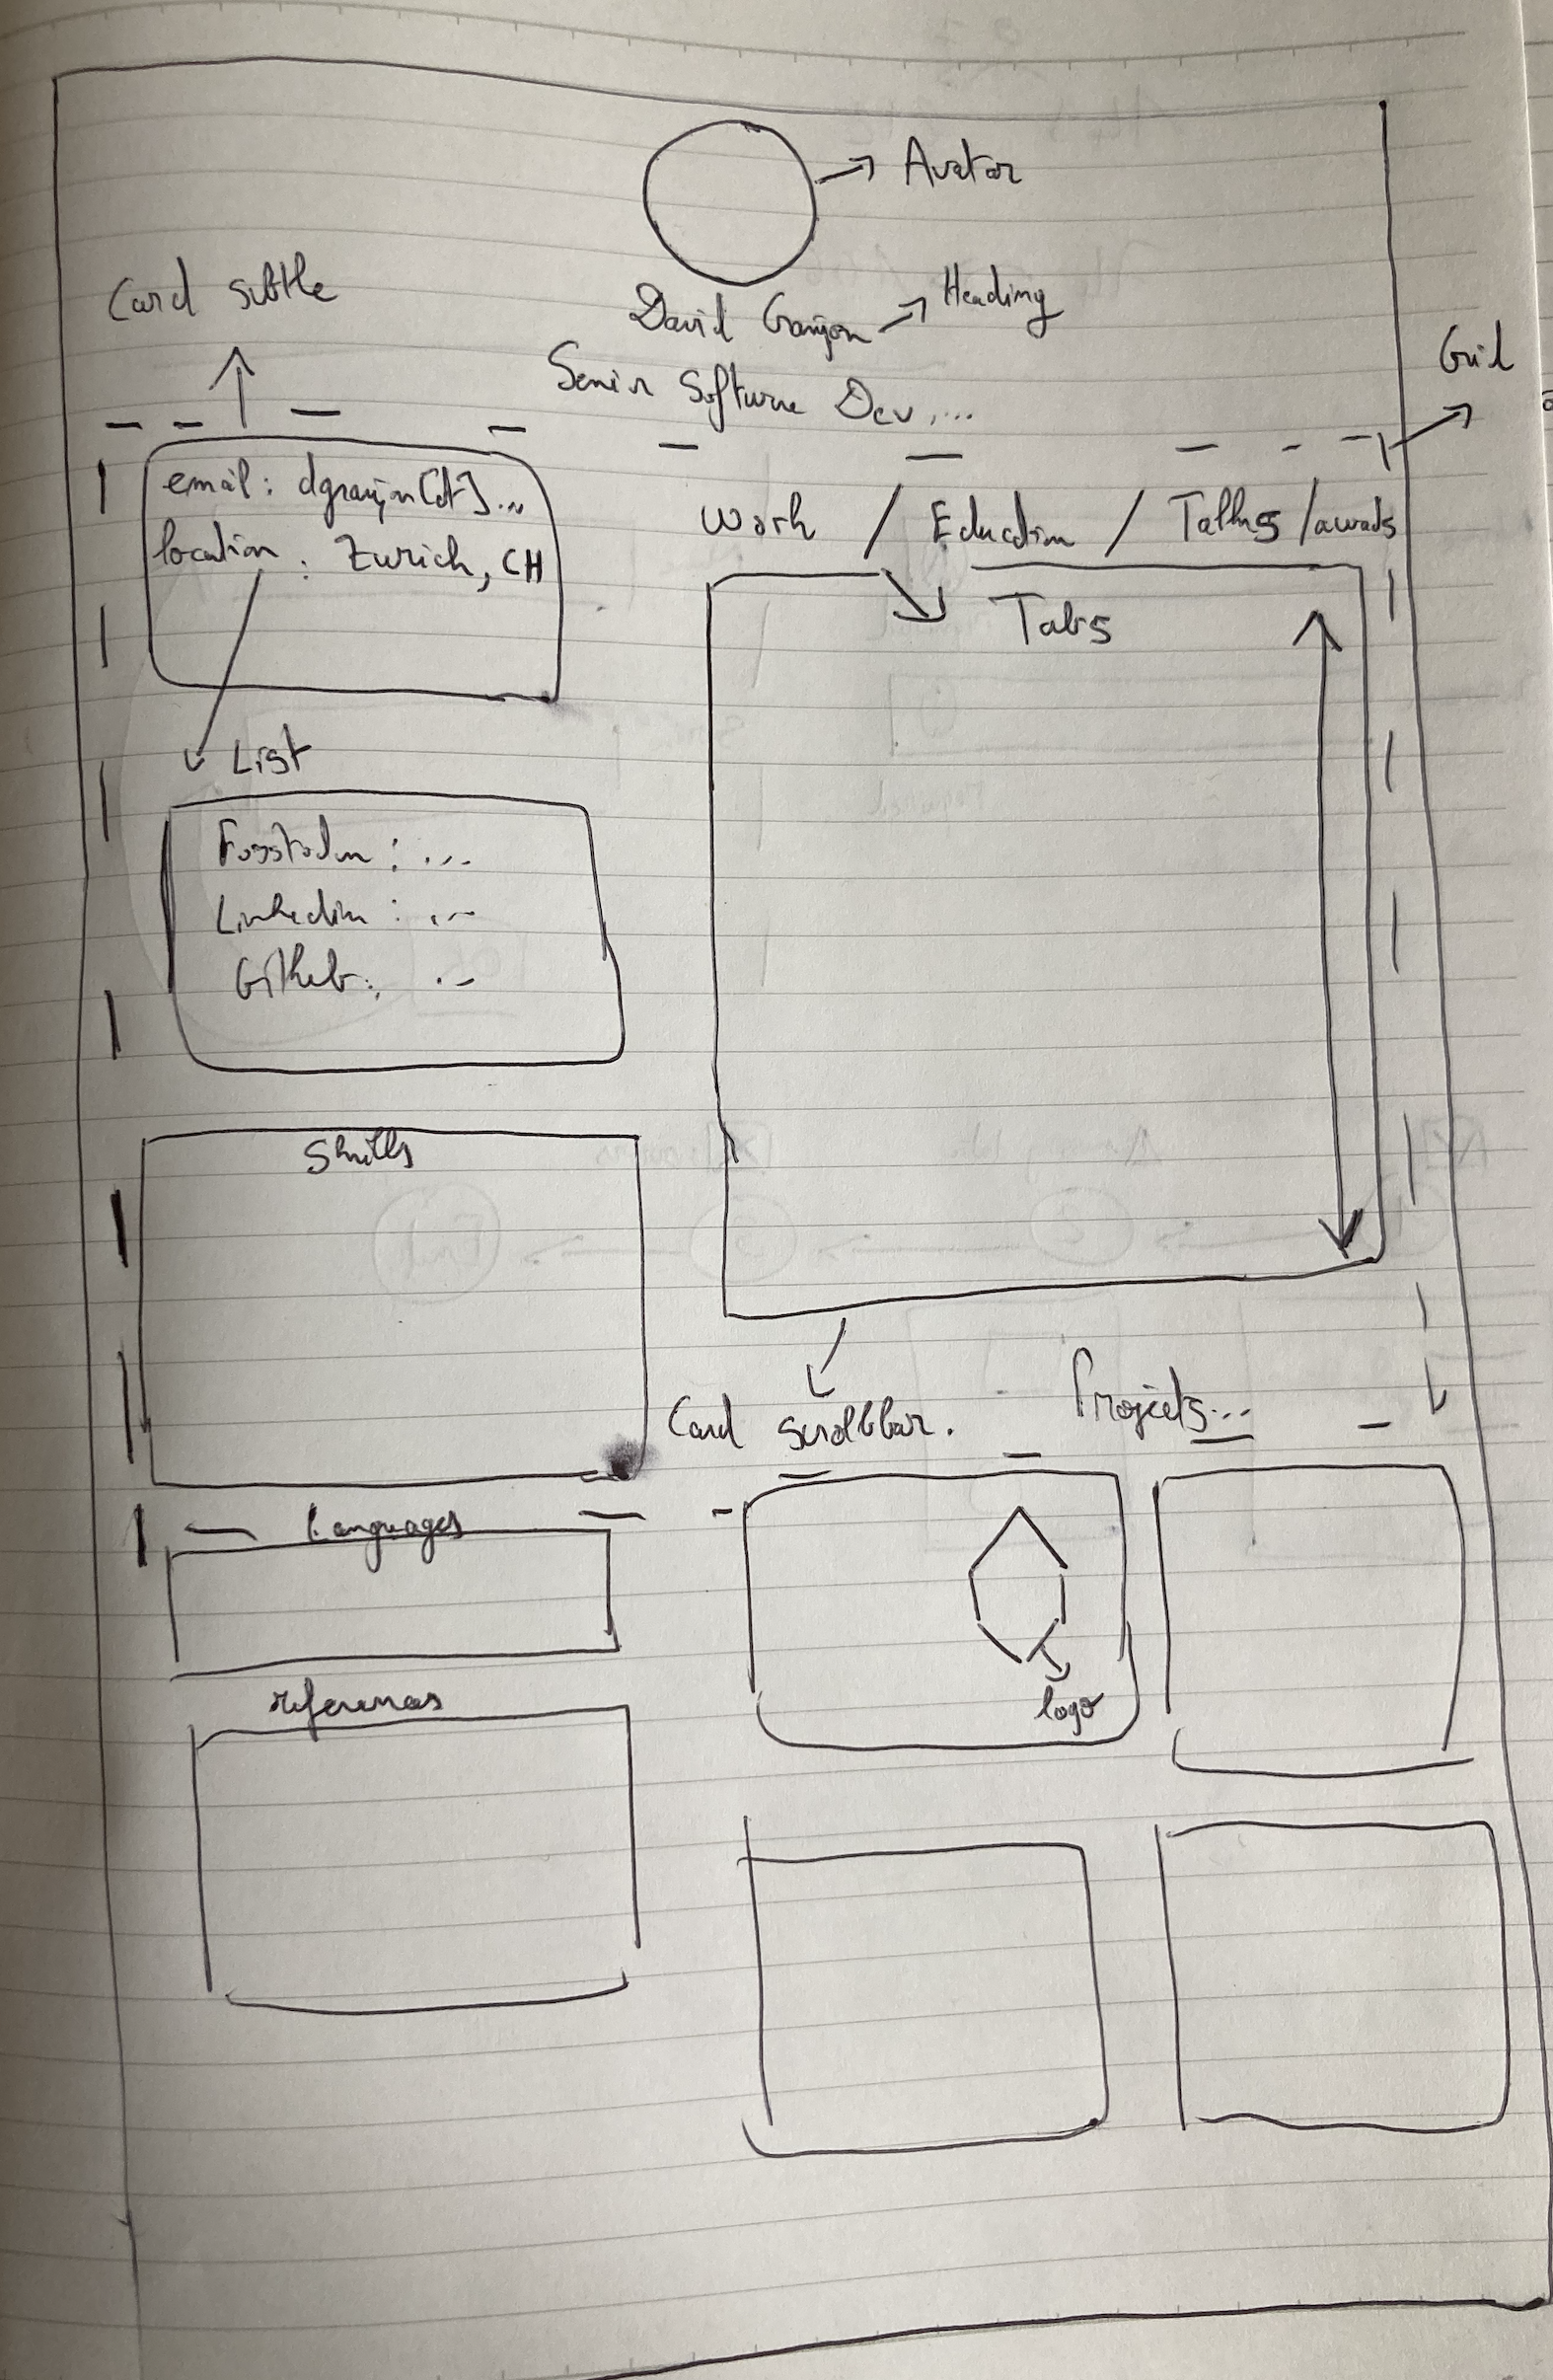
Wireframing is the action of drawing an app design on the paper or with a software:
https://careerfoundry.com/en/blog/ux-design/what-is-a-wireframe-guide/
🖊 pen, 📜 paper, 🧠 brain
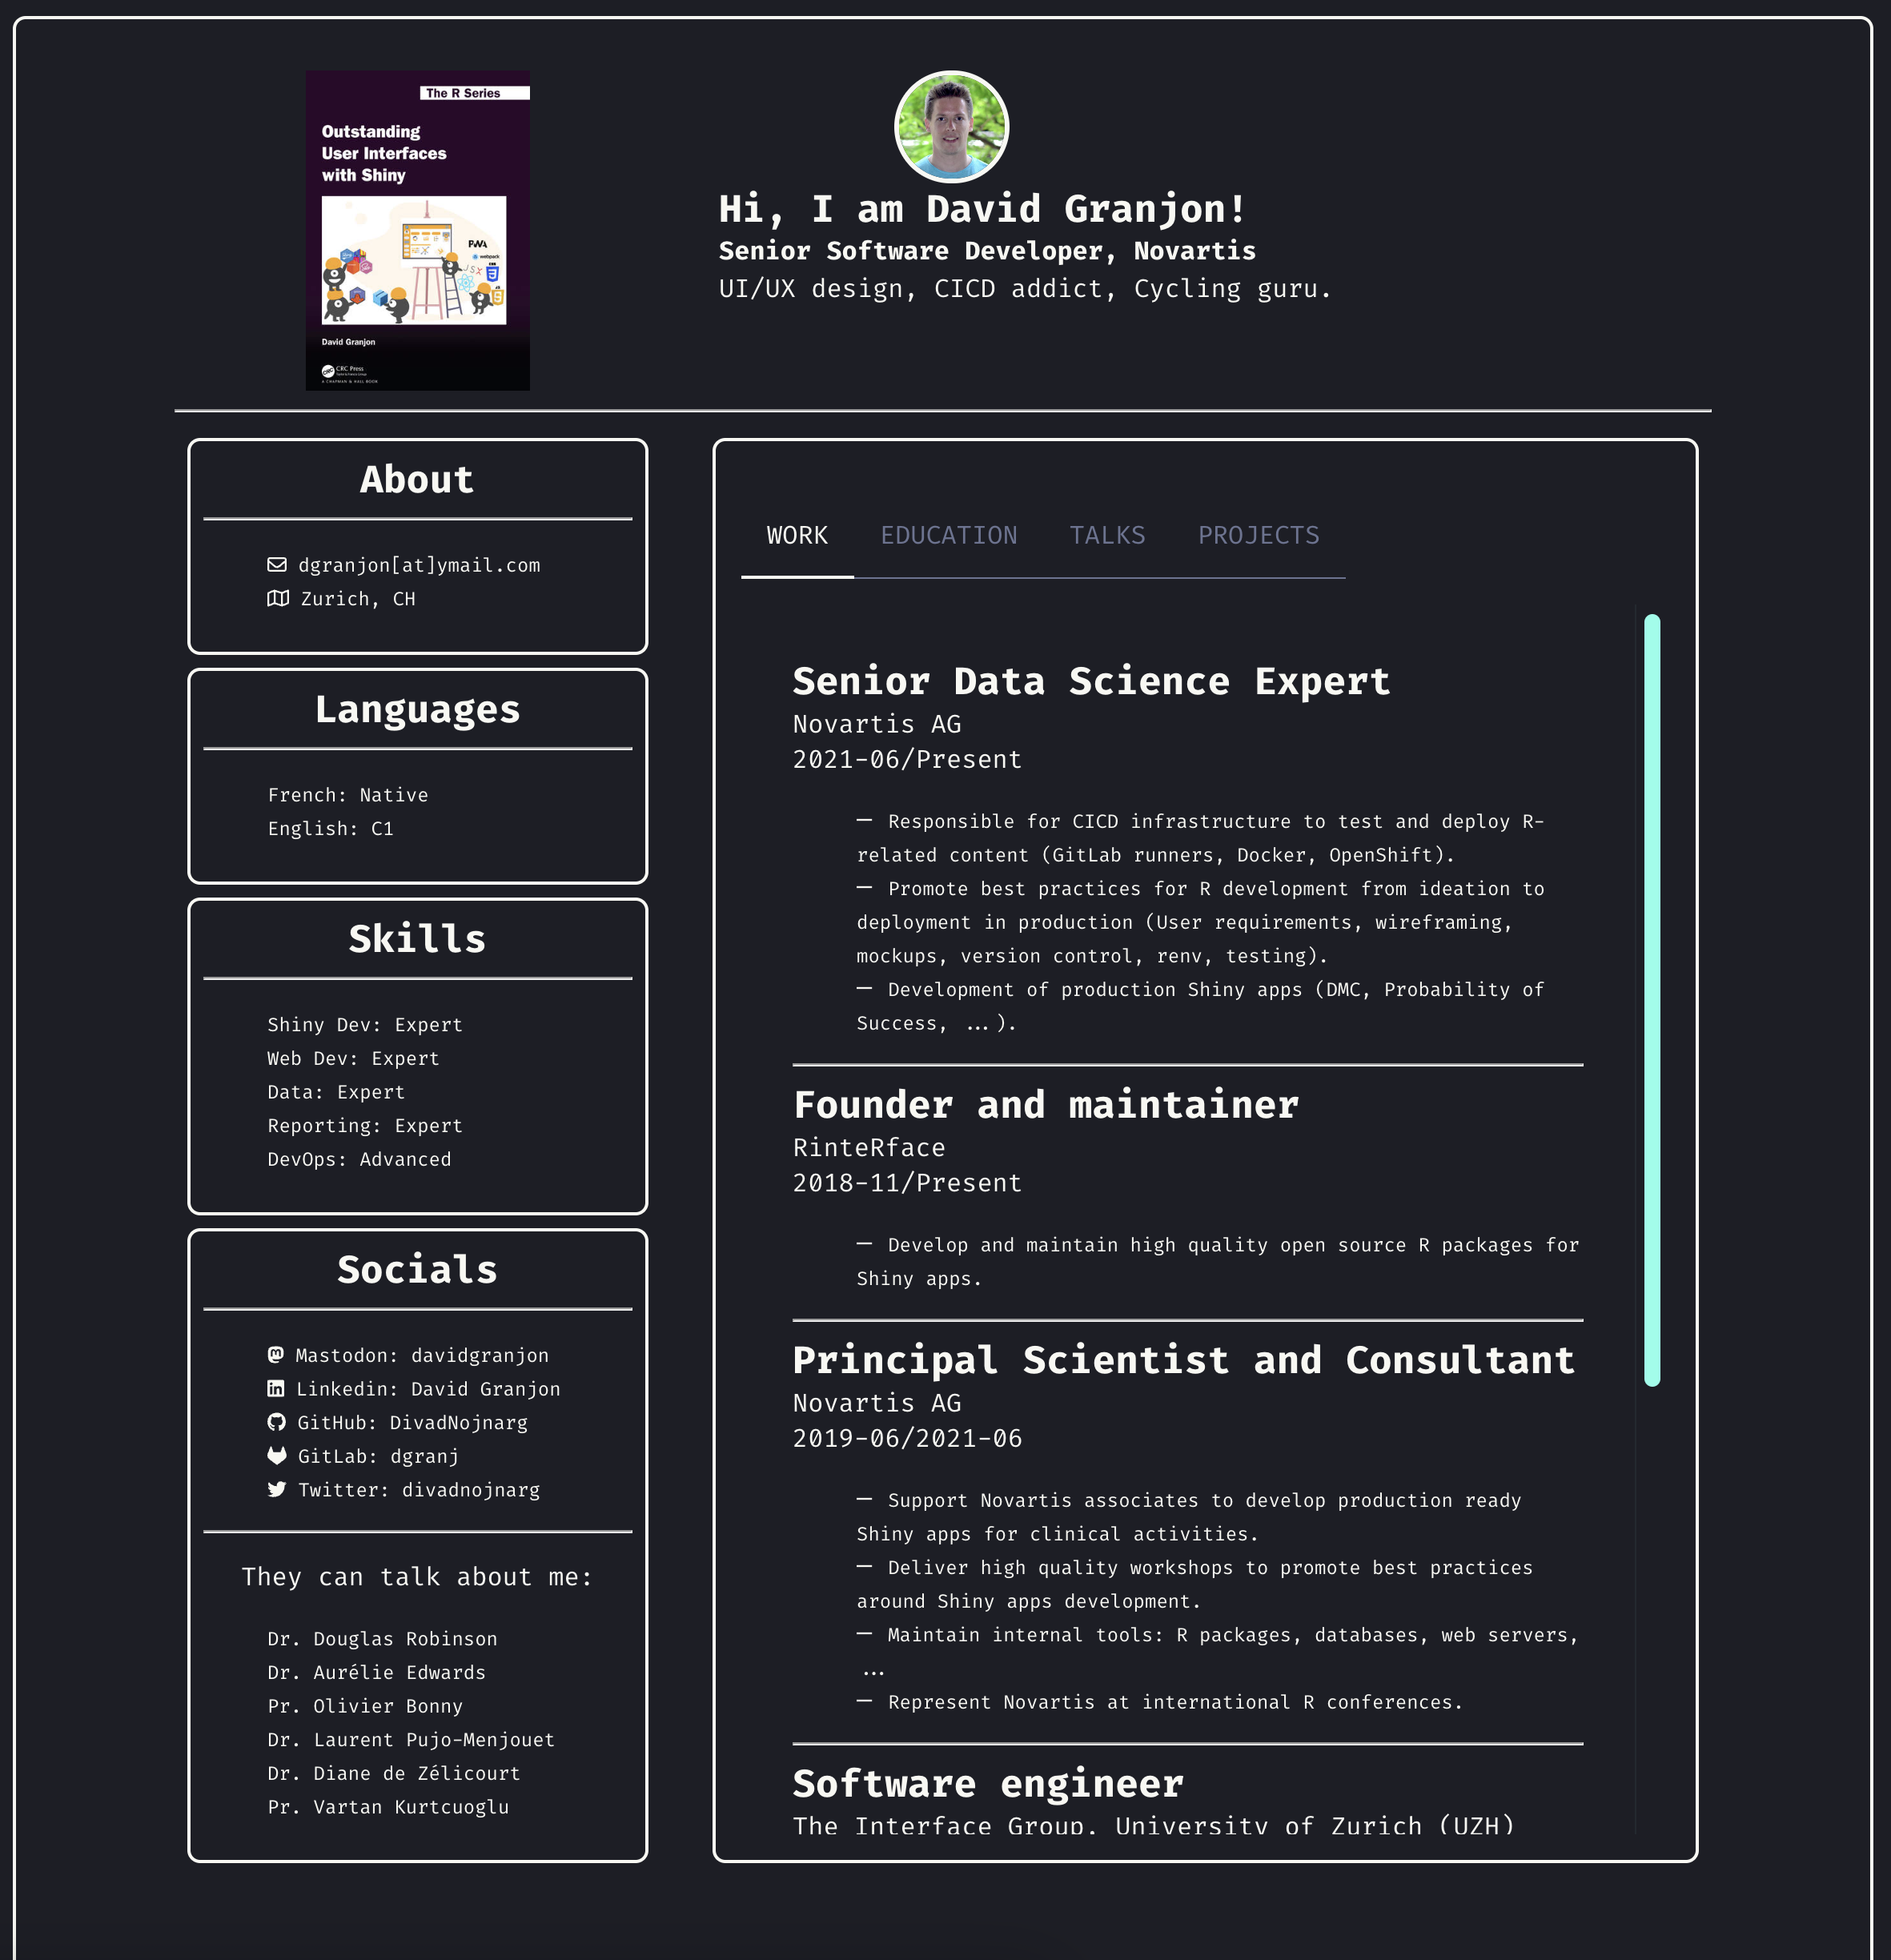
{shinyMons2} 05:00 shinyMons2 assignment../app.R, run the app and discuss.{shinyMons2}
This is an uglyfied pokemon app1 suffering from few UX/UI issues:
You got it, this app s*cks 🙊
{shinyMons2} structure 1
This app is composed of 7 modules (you can check in ./R).
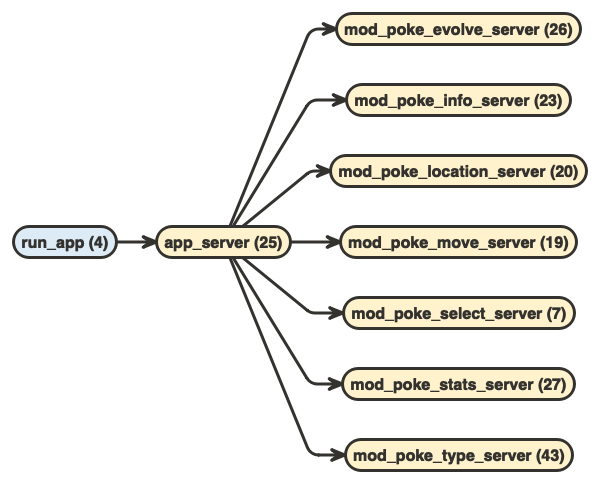
{shinyMons2} data 05:00 poke_data is a nested list containing all relevant data for 151 pokemons.
What would we expect to know from a Pokemon?
{shinyMons2} redesign stepsFrom there, we’ll cover the redesign step by step:
30:00 shinyMons2 project in the Posit Cloud space.pkgload::load_all().poke_data data, with the 🖊 pen, 📜 paper and 🧠 brain approach discussed earlier, propose a new design for {shinyMons2}.Hint
Only focus on the UI, not on the server part. Ask yourself: what would people want to know about their favorite Pokemon?
Time to check what you all did
15:00 Why?
Symmetry
Symmetry

Symmetry
:focal(1471x1061:1472x1062)/https://tf-cmsv2-smithsonianmag-media.s3.amazonaws.com/filer/b6/30/b630b48b-7344-4661-9264-186b70531bdc/istock-478831658.jpg)
Symmetry
https://www.siteinspire.com/
Symmetry Broken!
 https://www.wix.com/blog/2022/10/asymmetrical-balance/
Asymmetry
Asymmetry

Asymmetry

Asymmetry
https://www.siteinspire.com/
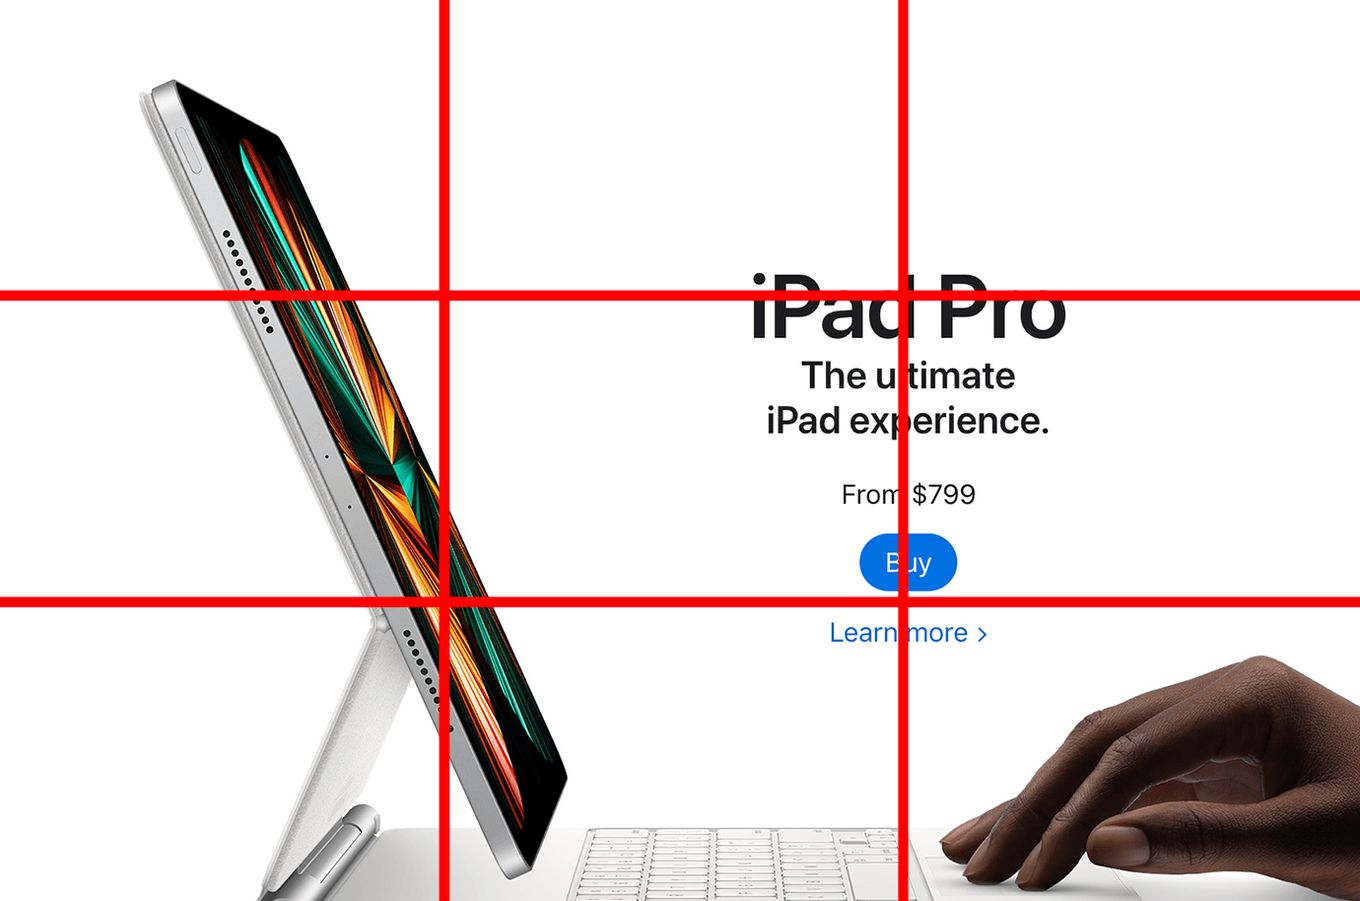
Rule of Thirds

Rule of Thirds
Triad Composition

Triad Composition

Triad Composition


Swiss Design 
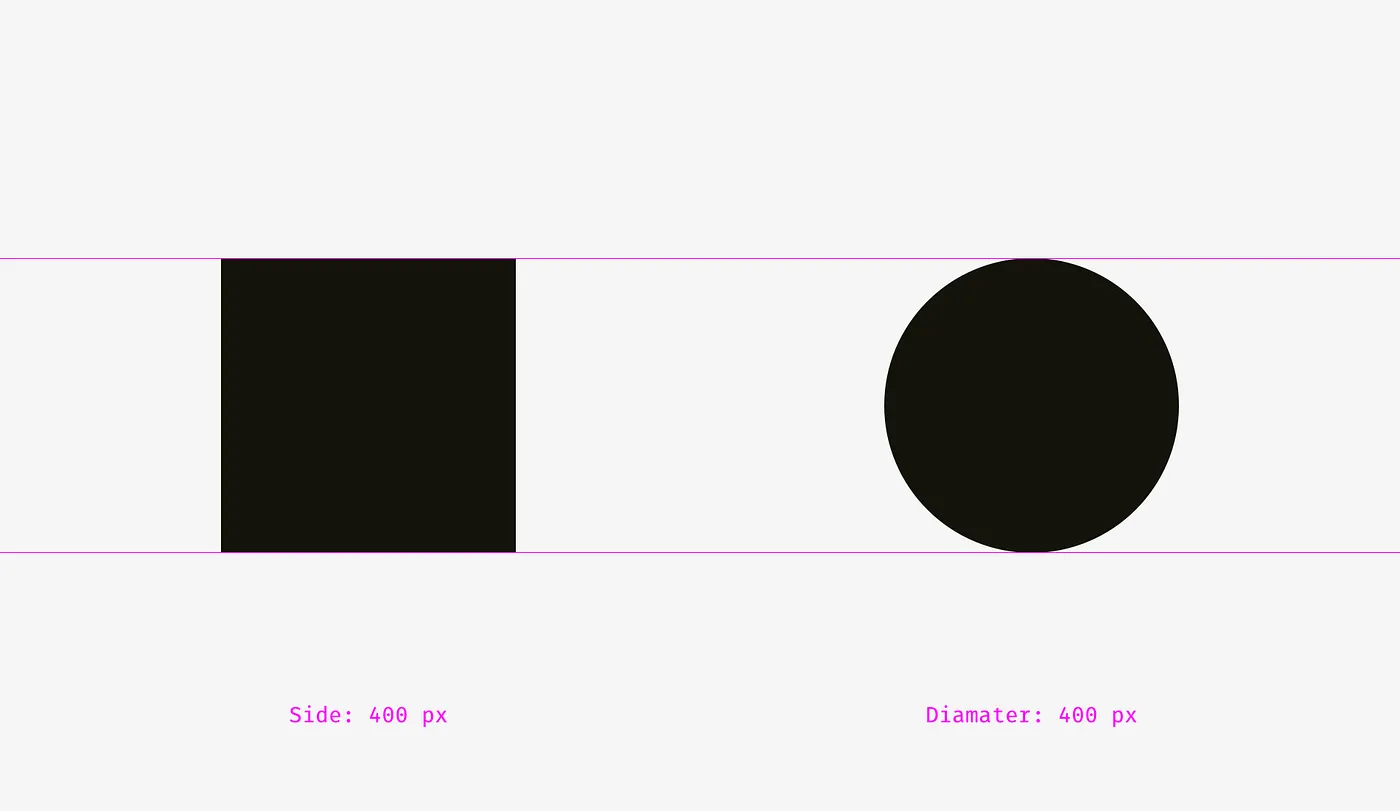
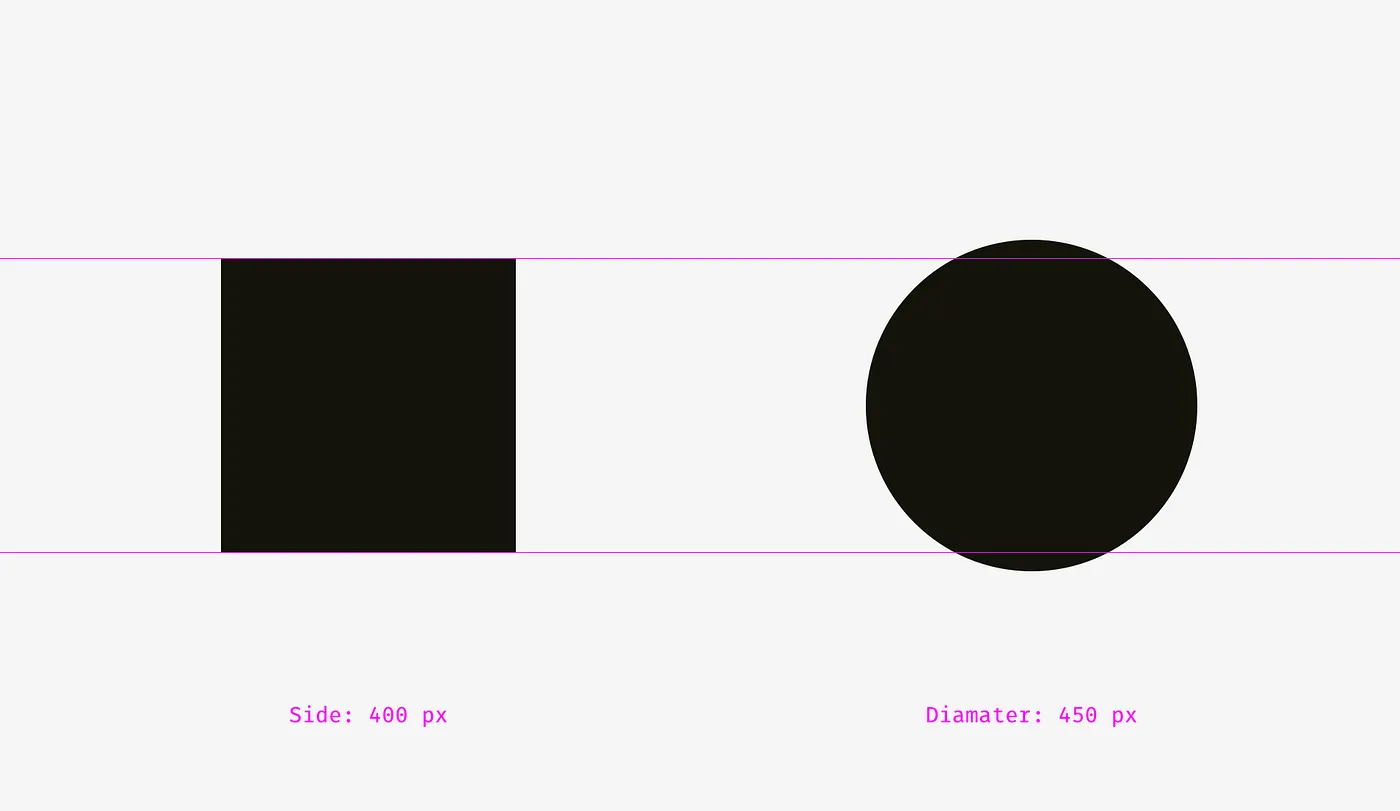
Shapes
Saccade


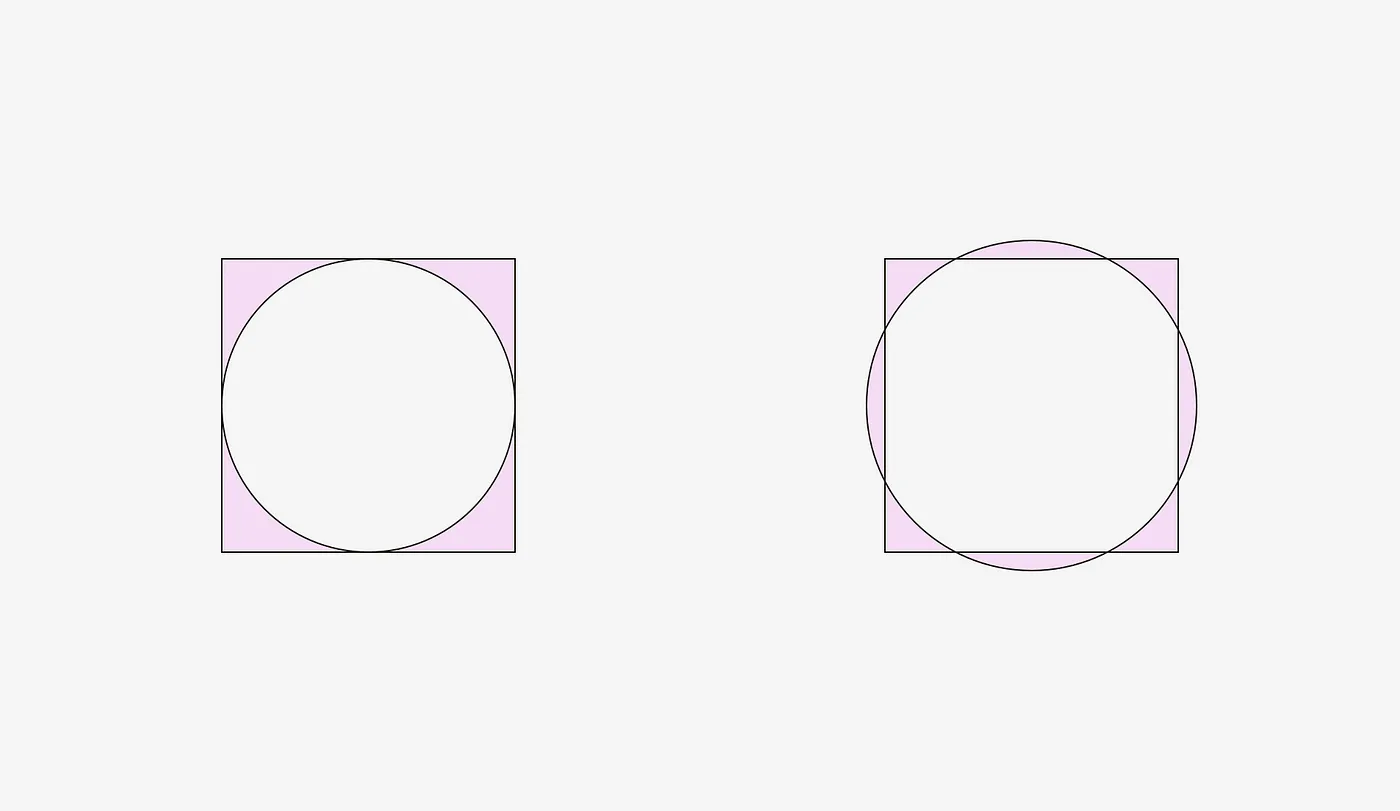
Diagonals


Diagonals
 dribbble.com
Scale

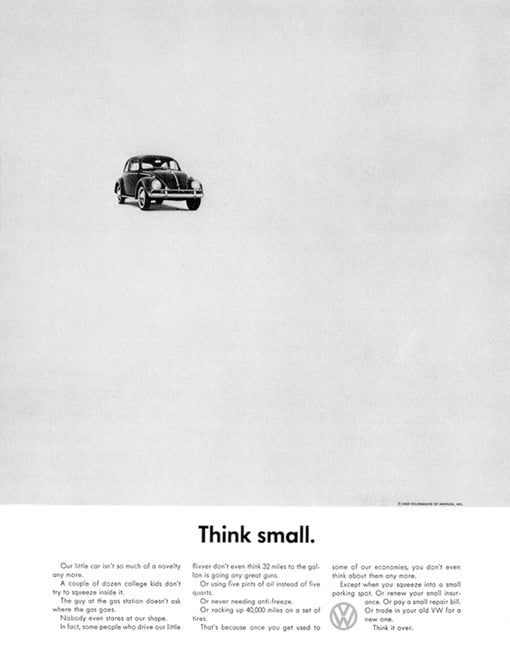


The architecture of space

3 main layouts 1:
layout_columns().layout_sidebar().page_navbar().layout_column_wrap() is a simplified interface to CSS grid.
3 cards of 200px require at least a viewport of 600px to display side by side.
03:00 With your fresh bslib knowledge, try to reproduce the following layout.
layout_sidebar()Hint
Best practice:
03:00 Taking a basic layout_sidebar and looking at ?bslib::sidebar, find a way to create another sidebar on the right side.
Hint
Add fillable = TRUE and class = "p-0" to the main layout_sidebar function.
page_sidebar()layout_sidebar() with title.Hint
Best practice:
03:00 Take the previous dashboard example and add an input and ouput of your choice.
library(shiny)
library(bslib)

ui <- page_sidebar(
  title = "My dashboard",
  sidebar = tagList(
    sliderInput(
      "obs",
      "Number of observations:",
      min = 0,
      max = 1000,
      value = 500
    )
  ),
  plotOutput("distPlot")
)

shinyApp(ui, function(input, output) {
  output$distPlot <- renderPlot({
    hist(rnorm(input$obs))
  })
})For more complex dashboards:
page_sidebar by page_navbar.nav_panel for each body tab.03:00 Until now, we only had shared sidebars.
Take the previous page_navbar template and try to add a dedicated sidebar for each nav_panel.
Hint
Don’t forget that each nav_panel is a container which can host its own layout.
library(shiny)
library(bslib)

ui <- page_navbar(
  title = "Multiple sidebars",
  nav_panel(
    "Tab 1",
    layout_sidebar(
      sidebar = sidebar("Sidebar tab 1"),
      "Tab 1 content"
    )
  ),
  nav_panel(
    "Tab 2",
    layout_sidebar(
      sidebar = sidebar("Sidebar tab 2"),
      "Tab 2 content"
    )
  )
)

shinyApp(ui, function(input, output) {
  output$distPlot <- renderPlot({
    hist(rnorm(input$obs))
  })
})Let’s review the most outstanding bslib components:
Hint
Most (if not all) bslib components have a class parameter to style them 🎨. They are also browsable, meaning typing card("My card") in the R console will show a card in the viewer panel 🎁
A card is a rectangular container for organizing related content, through a more appealing design.
Card header: card_header()Hint
Pass full_screen = TRUE to make the card maximizable.
03:00 Combine layout_columns_wrap() and card() to create a grid composed of 3 columns and 2 rows. Then play with the screen width and conclude.
Hint
You can create those 6 cards programmatically with lapply() and pass them with !!! inside layout_columns_wrap() (introduced in shiny 1.7.0).
Tabs allow to organize related content over multiple pages 1.
They can be part of navbars (navigation), cards or standalone.
03:00 Have a look at ?navset_card_tab to include tabs within a card. Try out with navset_card_pill.
Hint
All those functions have a server part to programmatically add/remove/select tabs. When doing so, pass an id to the parent container like navset_card_tab(id = ..., ...).
Accordions are made of collapsible elements to organize content in the same container.
accordion()accordion_panel()Hint
You can see an accordion as a group of collapsible cards, to save vertical space.
03:00 Combine layout_sidebar() to accordion to better organize input parameters within the following example.
layout_sidebar(
  sidebar = sidebar(
    accordion(
      accordion_panel(
        icon = bs_icon("file-bar-graph"),
        "Value",
        numericInput(
          "obs",
          "Number of observations:",
          min = 0,
          max = 1000,
          value = 500
        )
      ),
      accordion_panel(
        "Axis",
        icon = bs_icon("body-text"),
        textInput("xlab", "X label", "vals"),
        textInput("ylab", "Y label", "yals")
      )
    )
  ),
  "An imaginary plot"
)
Value boxes are tiny card containers dedicated to highlight a specific metric.
Hint
Value box can host plots but more treatment is required to have a good rendering when the card is minimized. Please see here.
03:00 Spend a few minutes to play with the below value box generator.
{shinyMons2} layout 45:00 Considering the wireframing obtained in the previous part, create a new bslib layout which illustrates the most your original idea.
fresh-start git branch, which has the 7 modules but without any existing UI nor server.mod_poke_select does not need to be changed.R folder, you’ll see WORKSHOP TO DO. Looking at poke_data, complete each module with your layout../app.R script …Hint
Module files are like ./R/mod_poke_*.R. You may not need all modules depending on the wireframe. To go faster, you may assign 1 module per person in your team.
Time to check what you all did 😃
15:00 
Monochrome
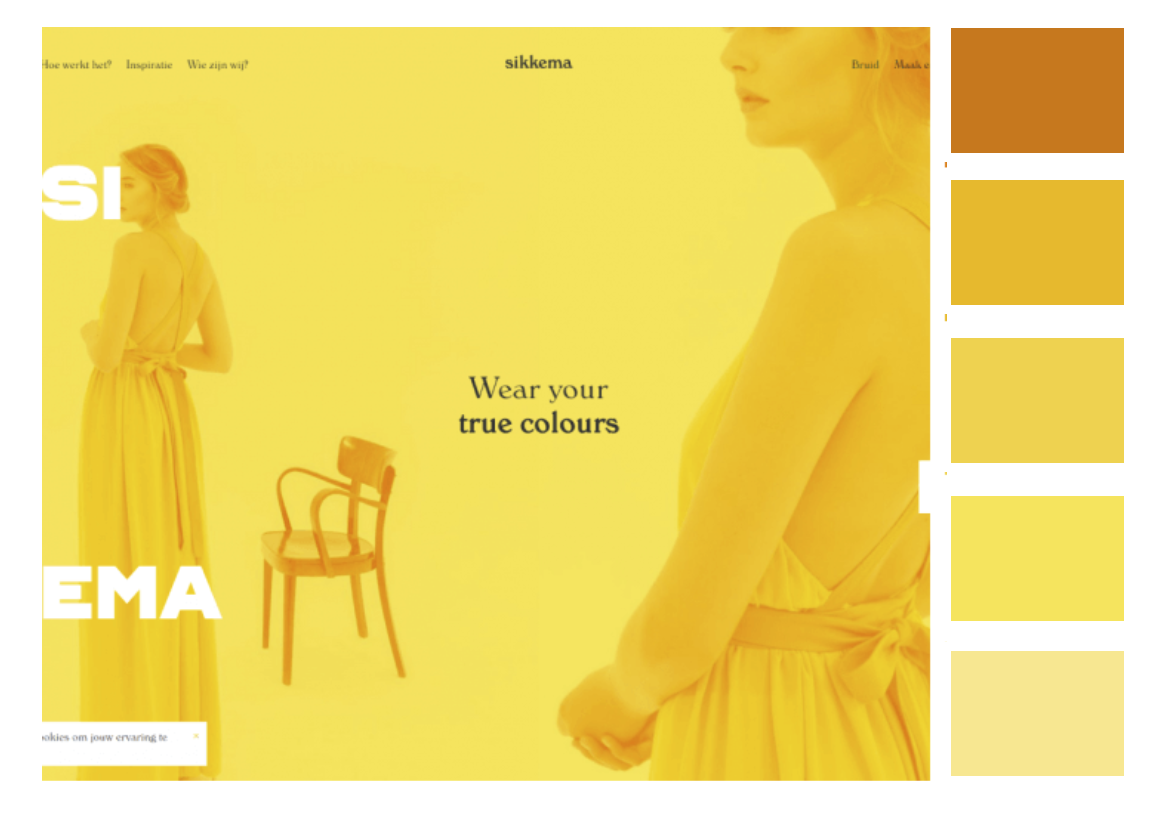
Monotone color scheme that uses variations of shades of a single color, such as red, dark red, and pink. Clean, elegant and balanced.
Analogous
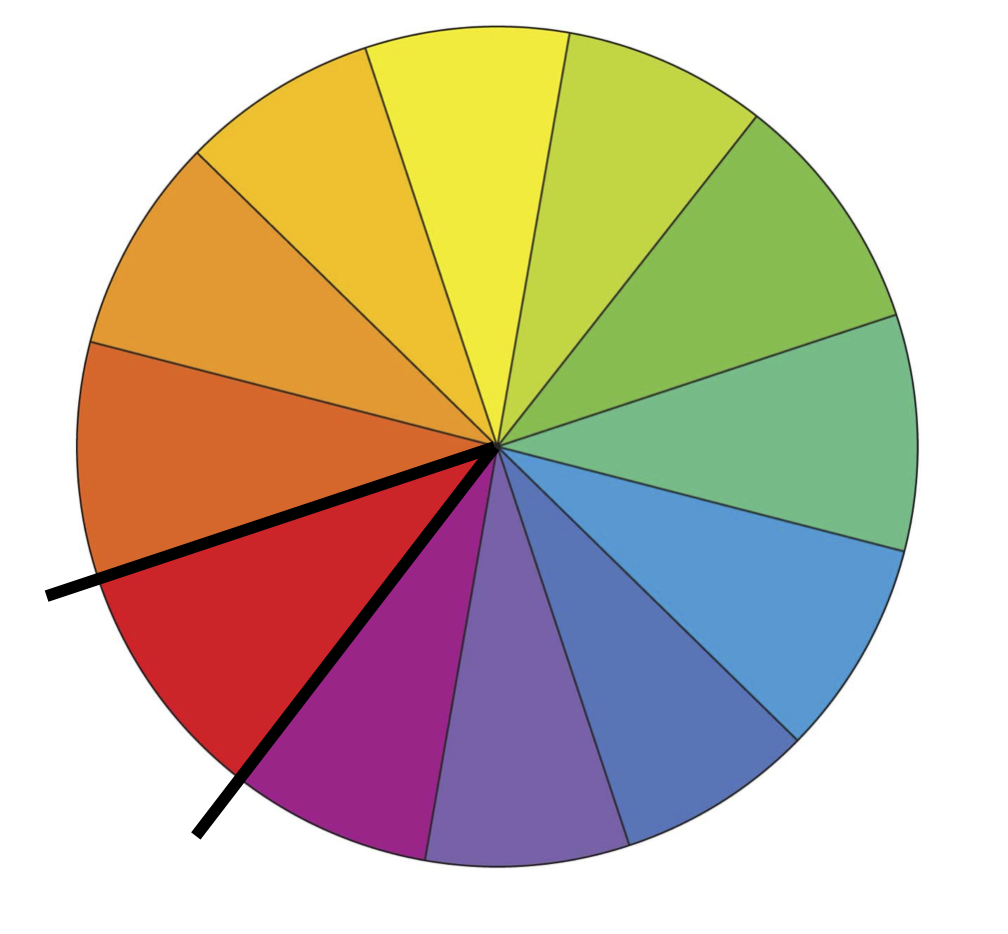
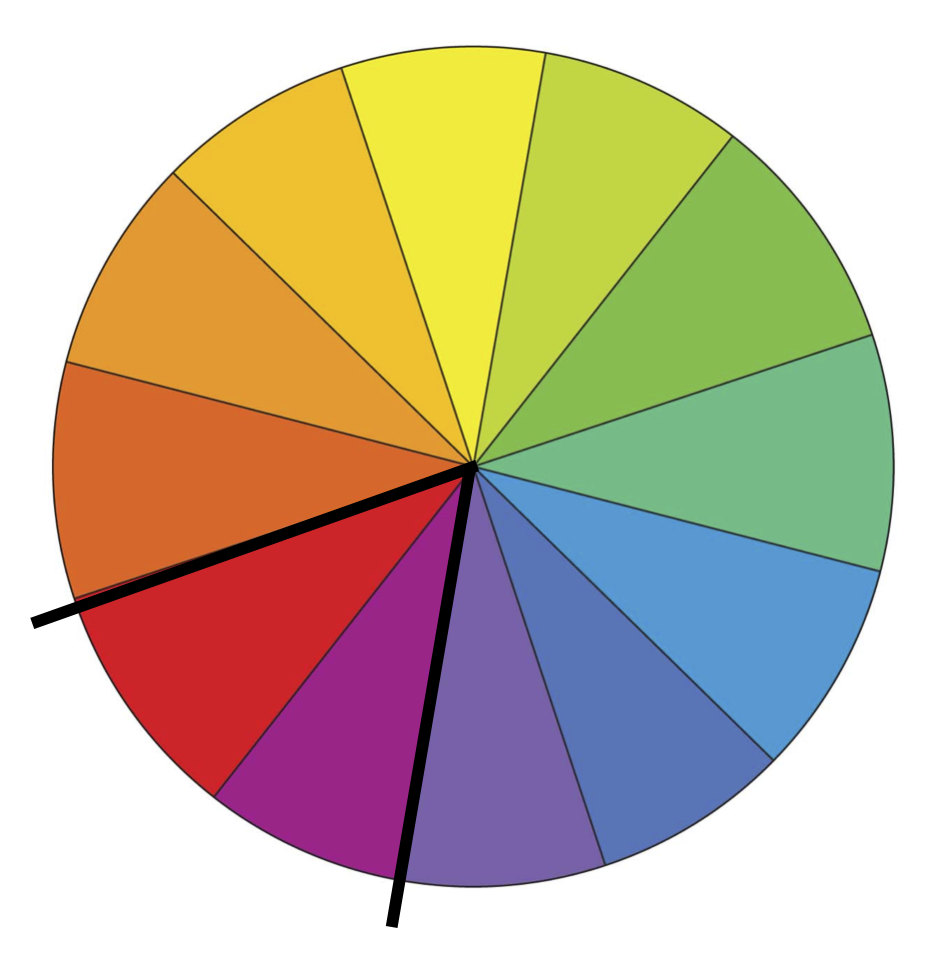
Related color scheme that uses shades next to each other on the color wheel such as red and violet. Richer, more variety than monochrome
Analogous

Complementary
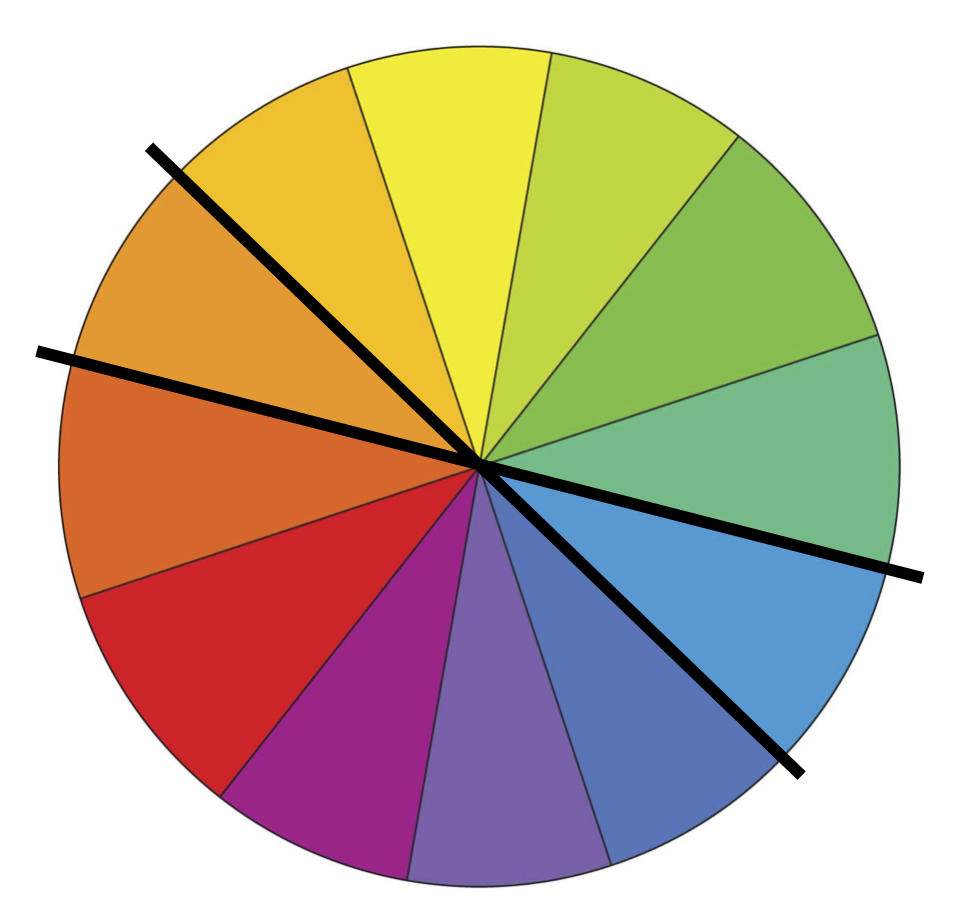
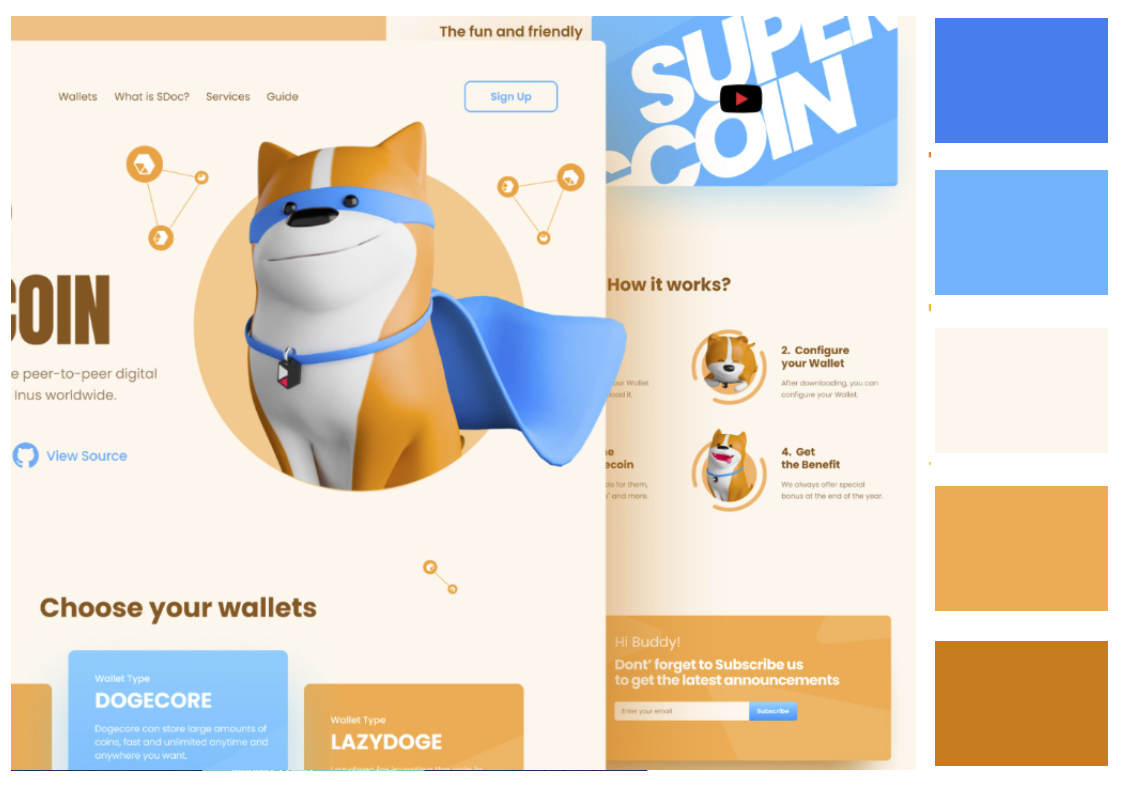
Uses colors that are opposite in the color wheel, such as orange and blue. Contrast cool against warm colors.
Complementary
Triadic
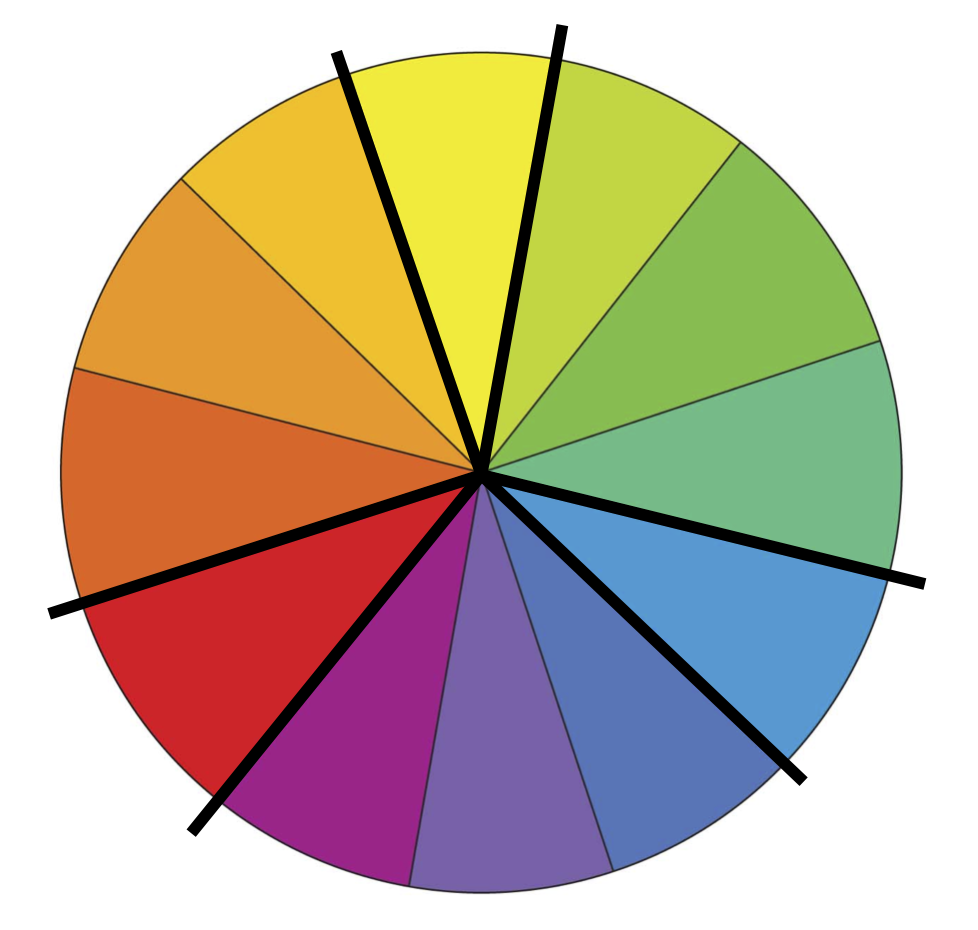
Uses three colors equally spaced around the color wheel such as red, blue, and yellow. Vibrant, rich, harmonious
Triadic

A COLOR IS ONLY A COLOR IN RELATION TO ANOTHER COLOR
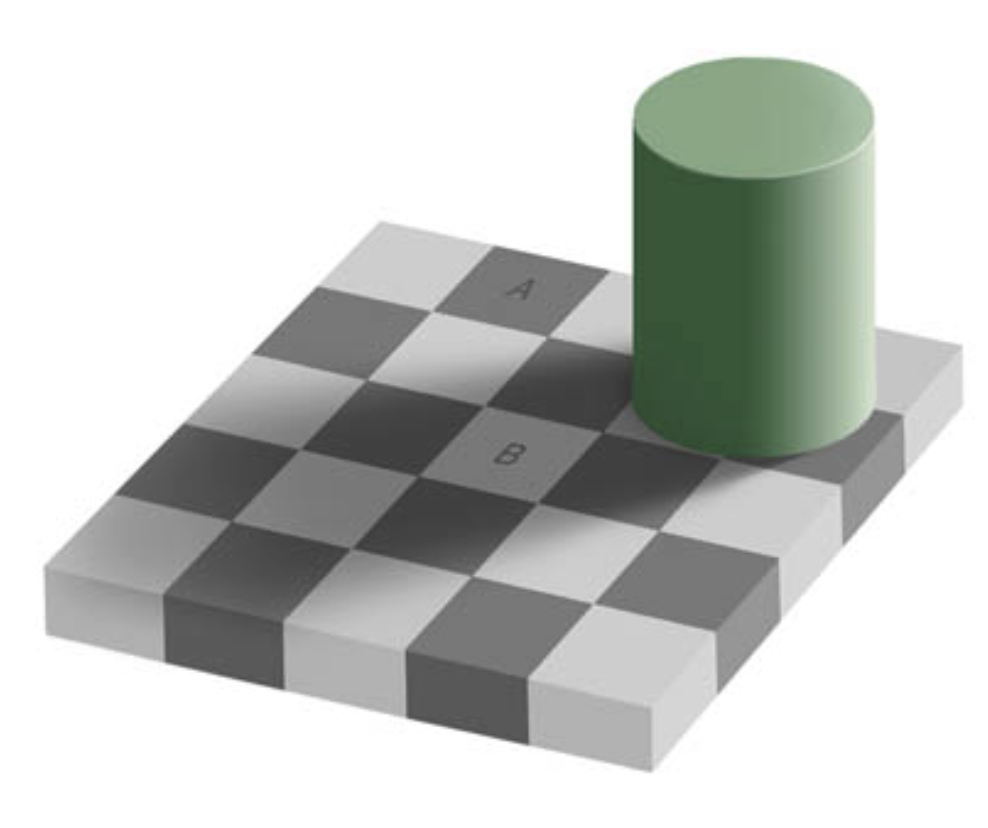
Edward H. Adelson
A COLOR IS ONLY A COLOR IN RELATION TO ANOTHER COLOR
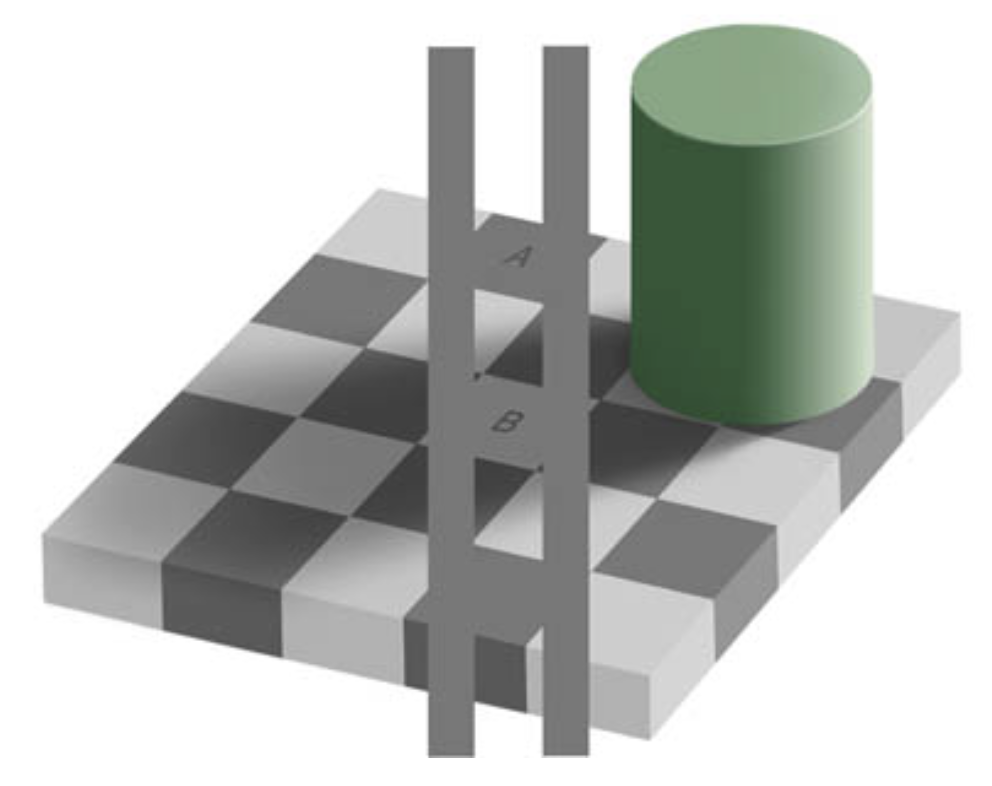
Edward H. Adelson
Contrast1

Adobe Color Wheel 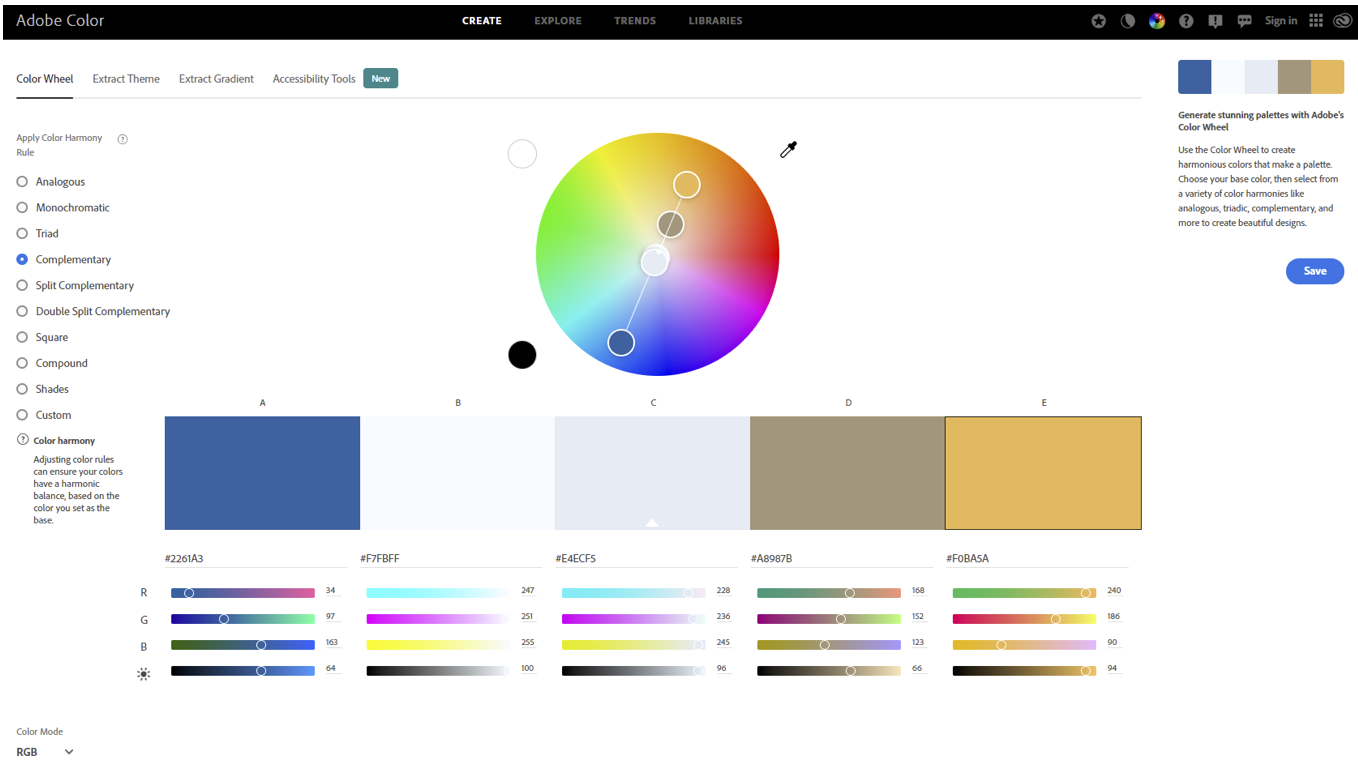
Color in Code
RGBA
rgb(x,x,x);
rgba(x,x,x,y)
Where x is 0 (black) to 255 (white) Where y is 0.0-1.0
If all numbers are the same you’ll have some sort of gray
HEXCIDECIMAL

Values range from 0-9 and A-F where #00000 is the lowest value (black) and #FFFFFF the highest (white)
Easy to copy and paste. Understand? Not so much.
HSL(A)
hsl(x,y,y)
hsla(x,y,y,z)
Where x is 0 (black) to 360 (white) Where y is a percentage from 0 to 100 Where z is a number from 0.0-1.0
Human readable, awesome color mode
NAMED COLORS
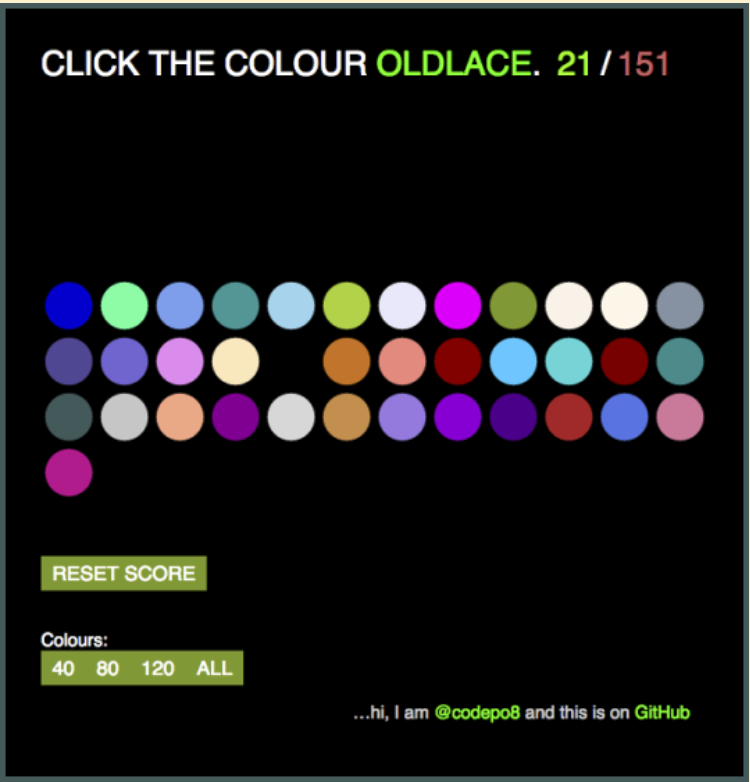
Good for demos, not much else
COLOR VARIABLES
Apply colors with CSS
<h1 class=“red_header”>Hello!<h1>
<h1 class=“red_header”>Howdy!<h1>

We can easily style multiple elements the same by giving them the same class
COLOR VARIABLES
(Finally!!)
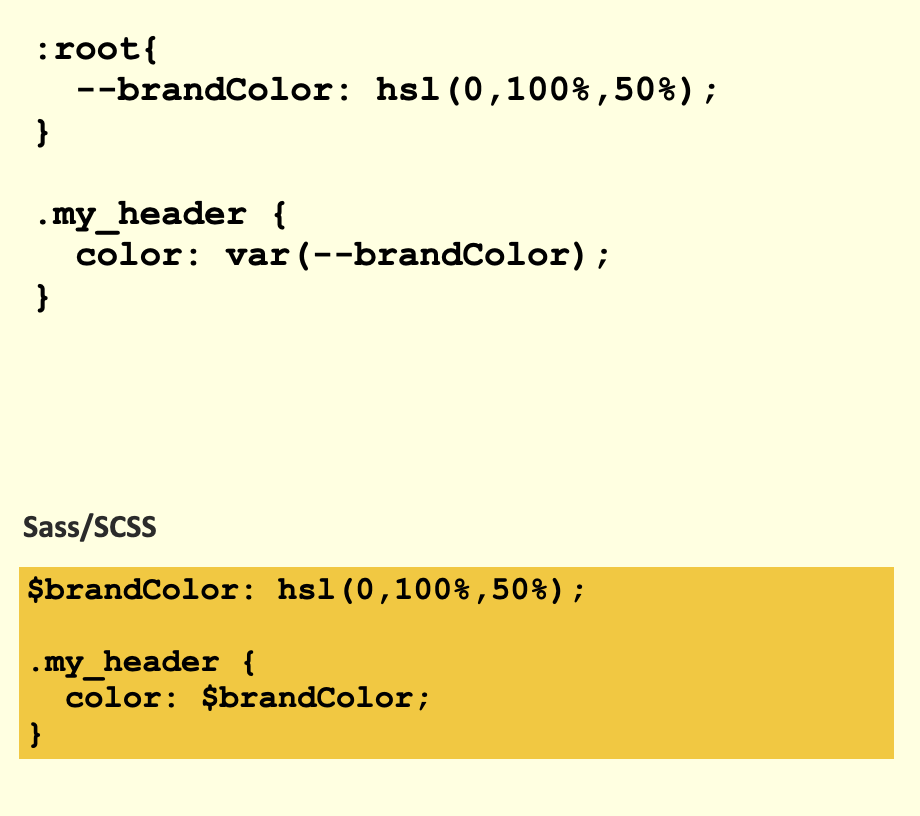
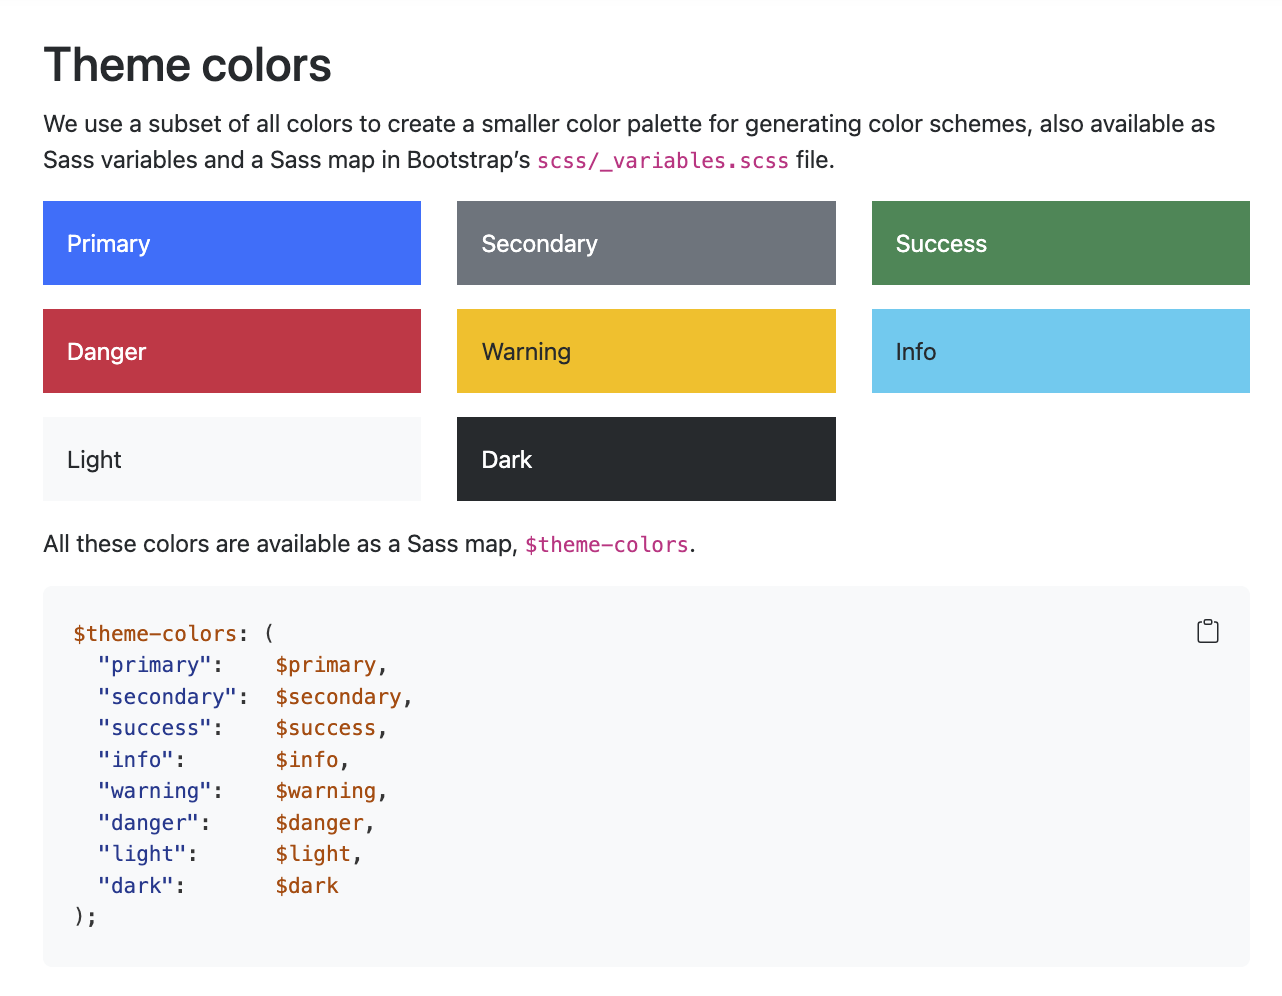
COLOR VARIABLES
(Finally!!)
HOW TO PICK A PALETTE 
HOW TO PICK A PALETTE 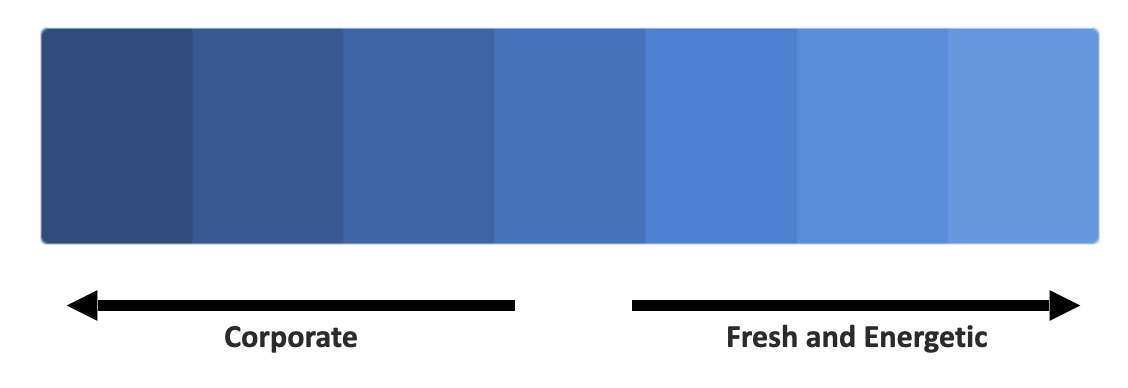
HOW TO PICK A PALETTE 
HOW TO PICK A PALETTE 
Exercise:
Pick a palette!
bslib provides theming capabilities for Shiny 1.
Hello bs_theme() 1
10:00 With what you learnt about colors and bslib, create the palette of your dreams and preview it. You can browse to https://color.adobe.com/create/color-wheel to create the color palette.
Hint
To run the theme next to your favorite app, you may call run_with_themer(shinyApp(ui, server)).
Typography
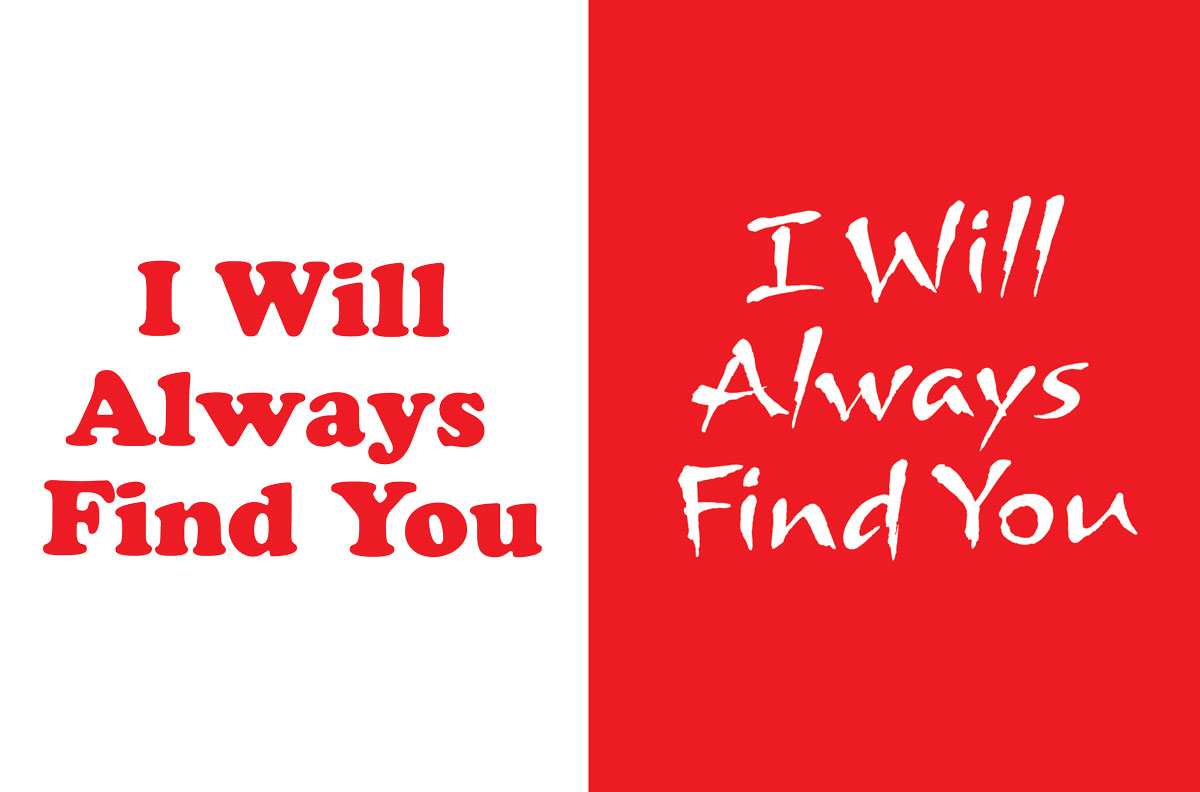
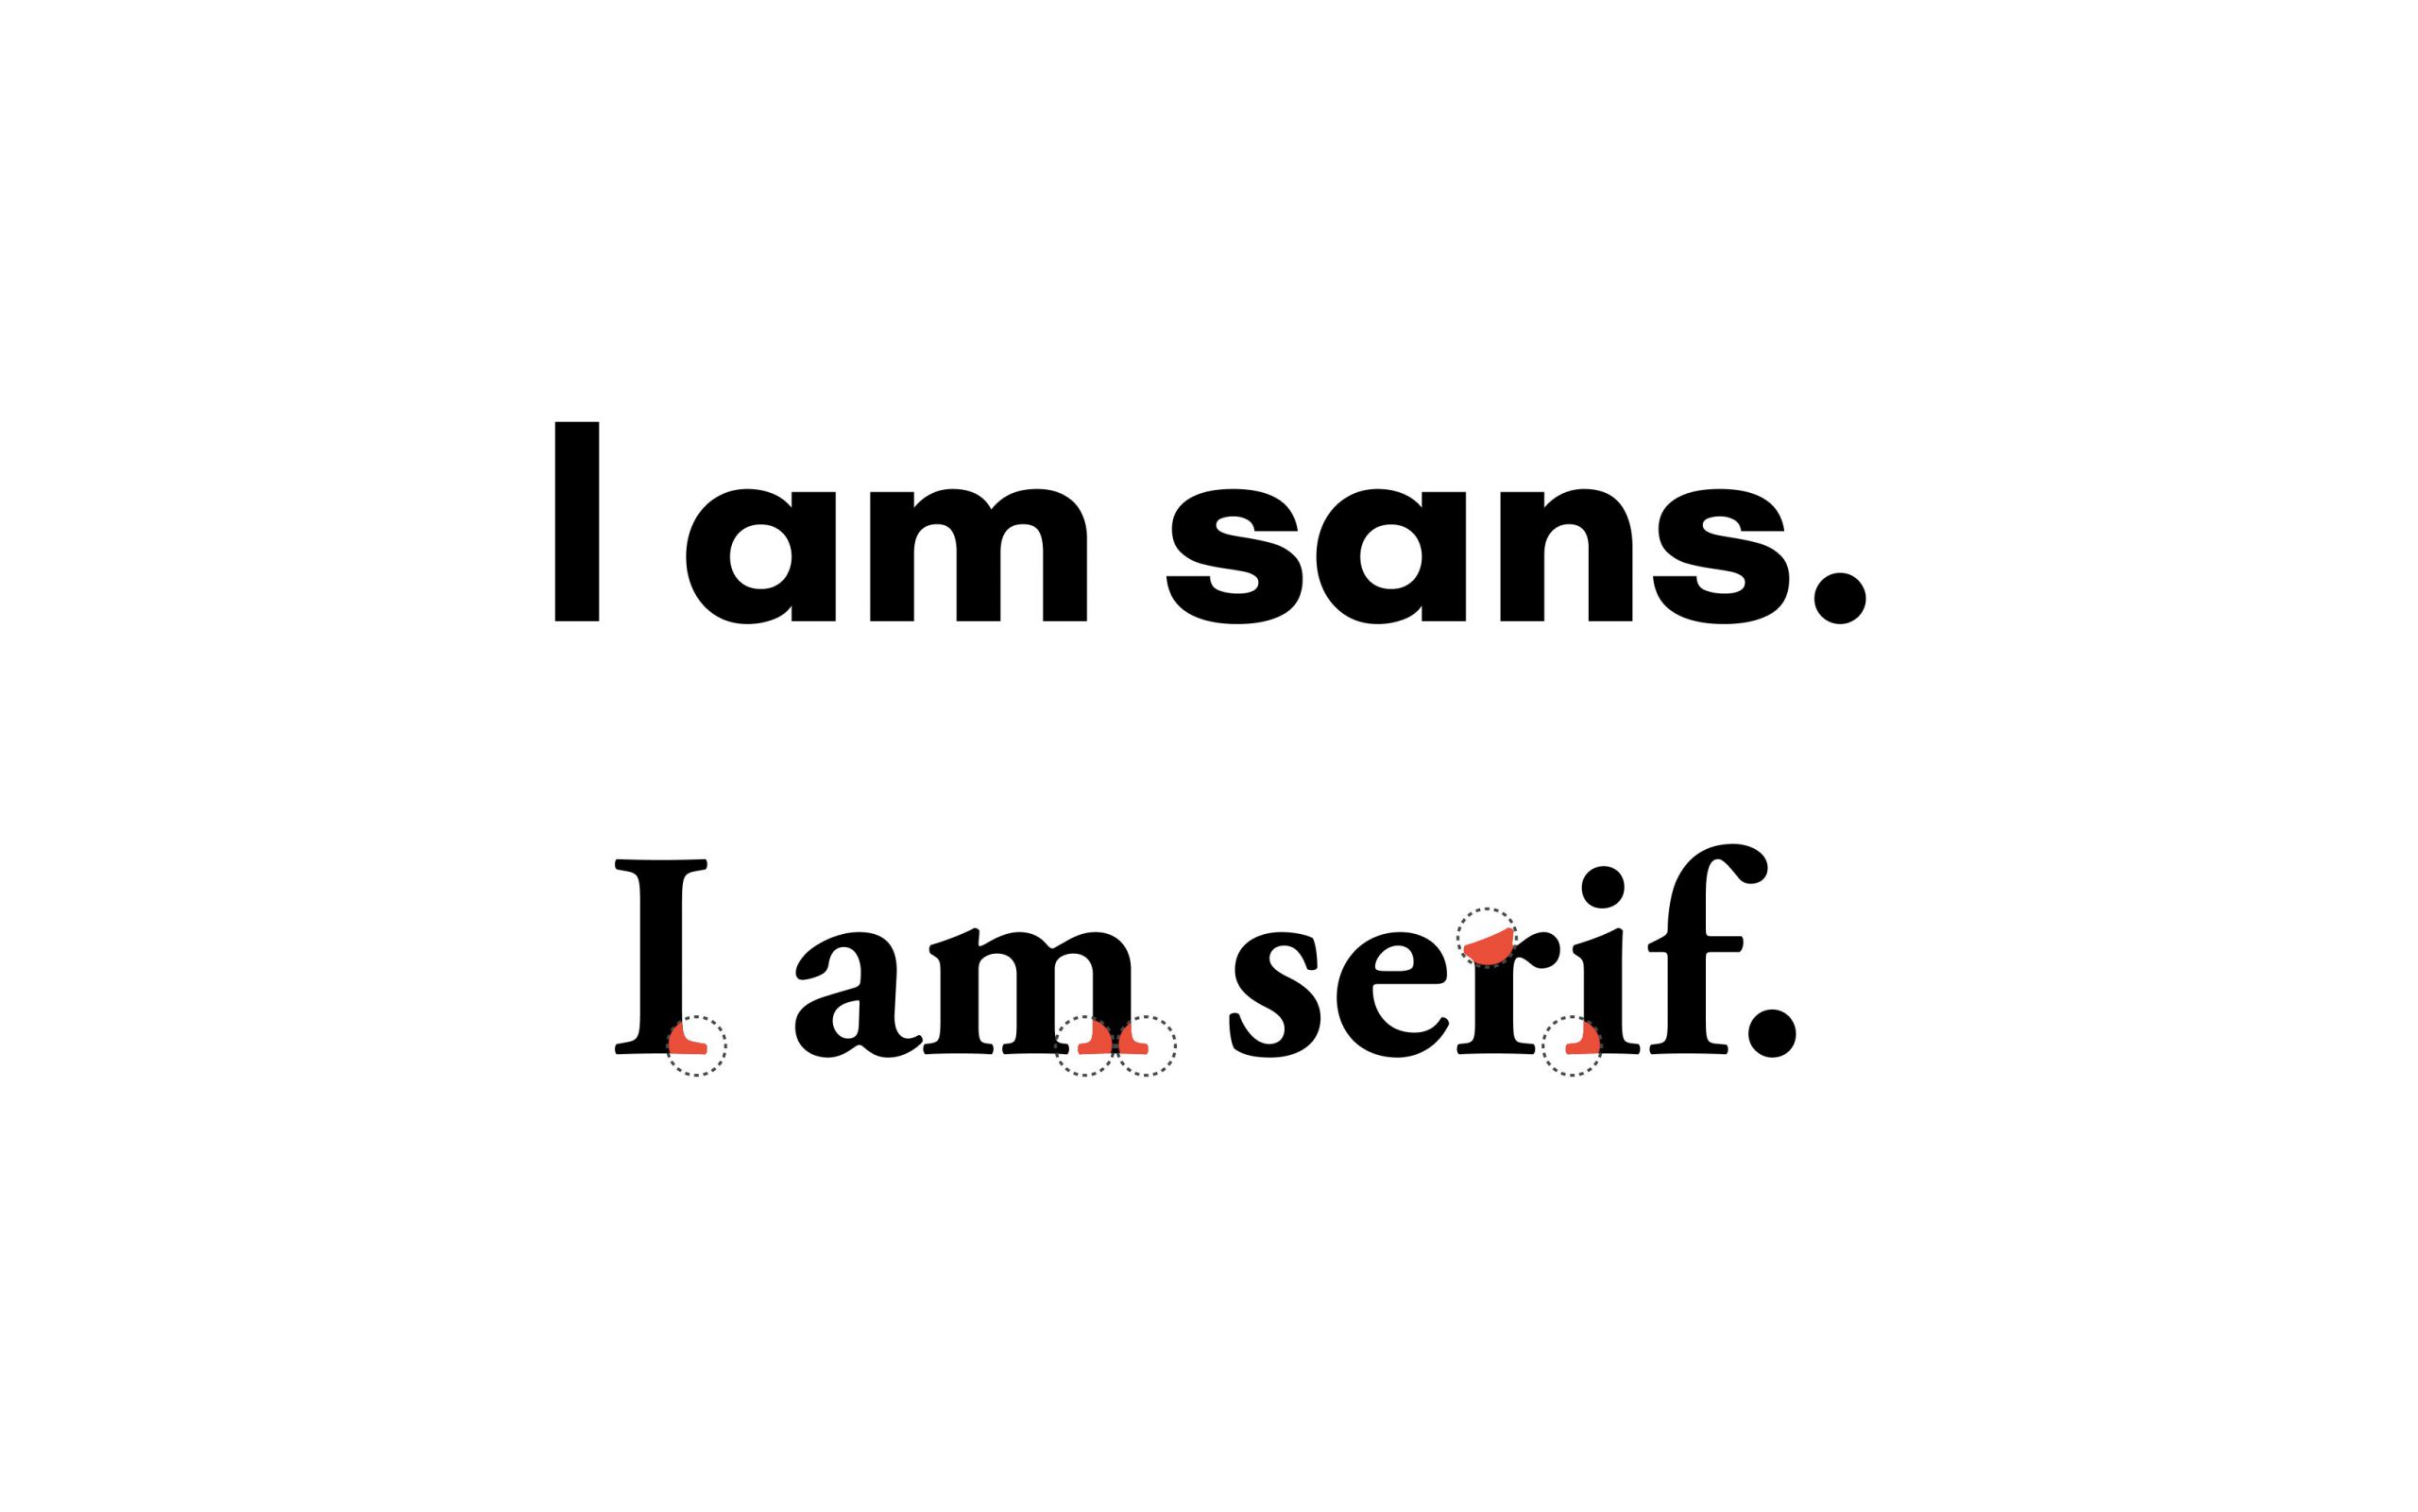
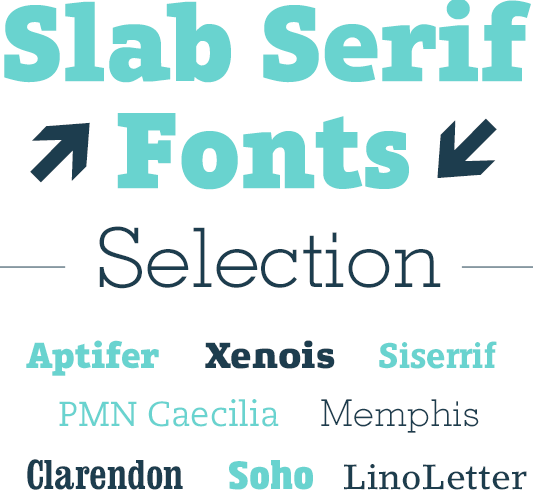
Serif Font
Sans Serif Font
Script Font
Handwritten Font
Display Font
Novelty Font
Monospace
Type Foundaries
Google Fonts
Font Squirrel
fonts.com
Hoefler&Co
Pairing Rules
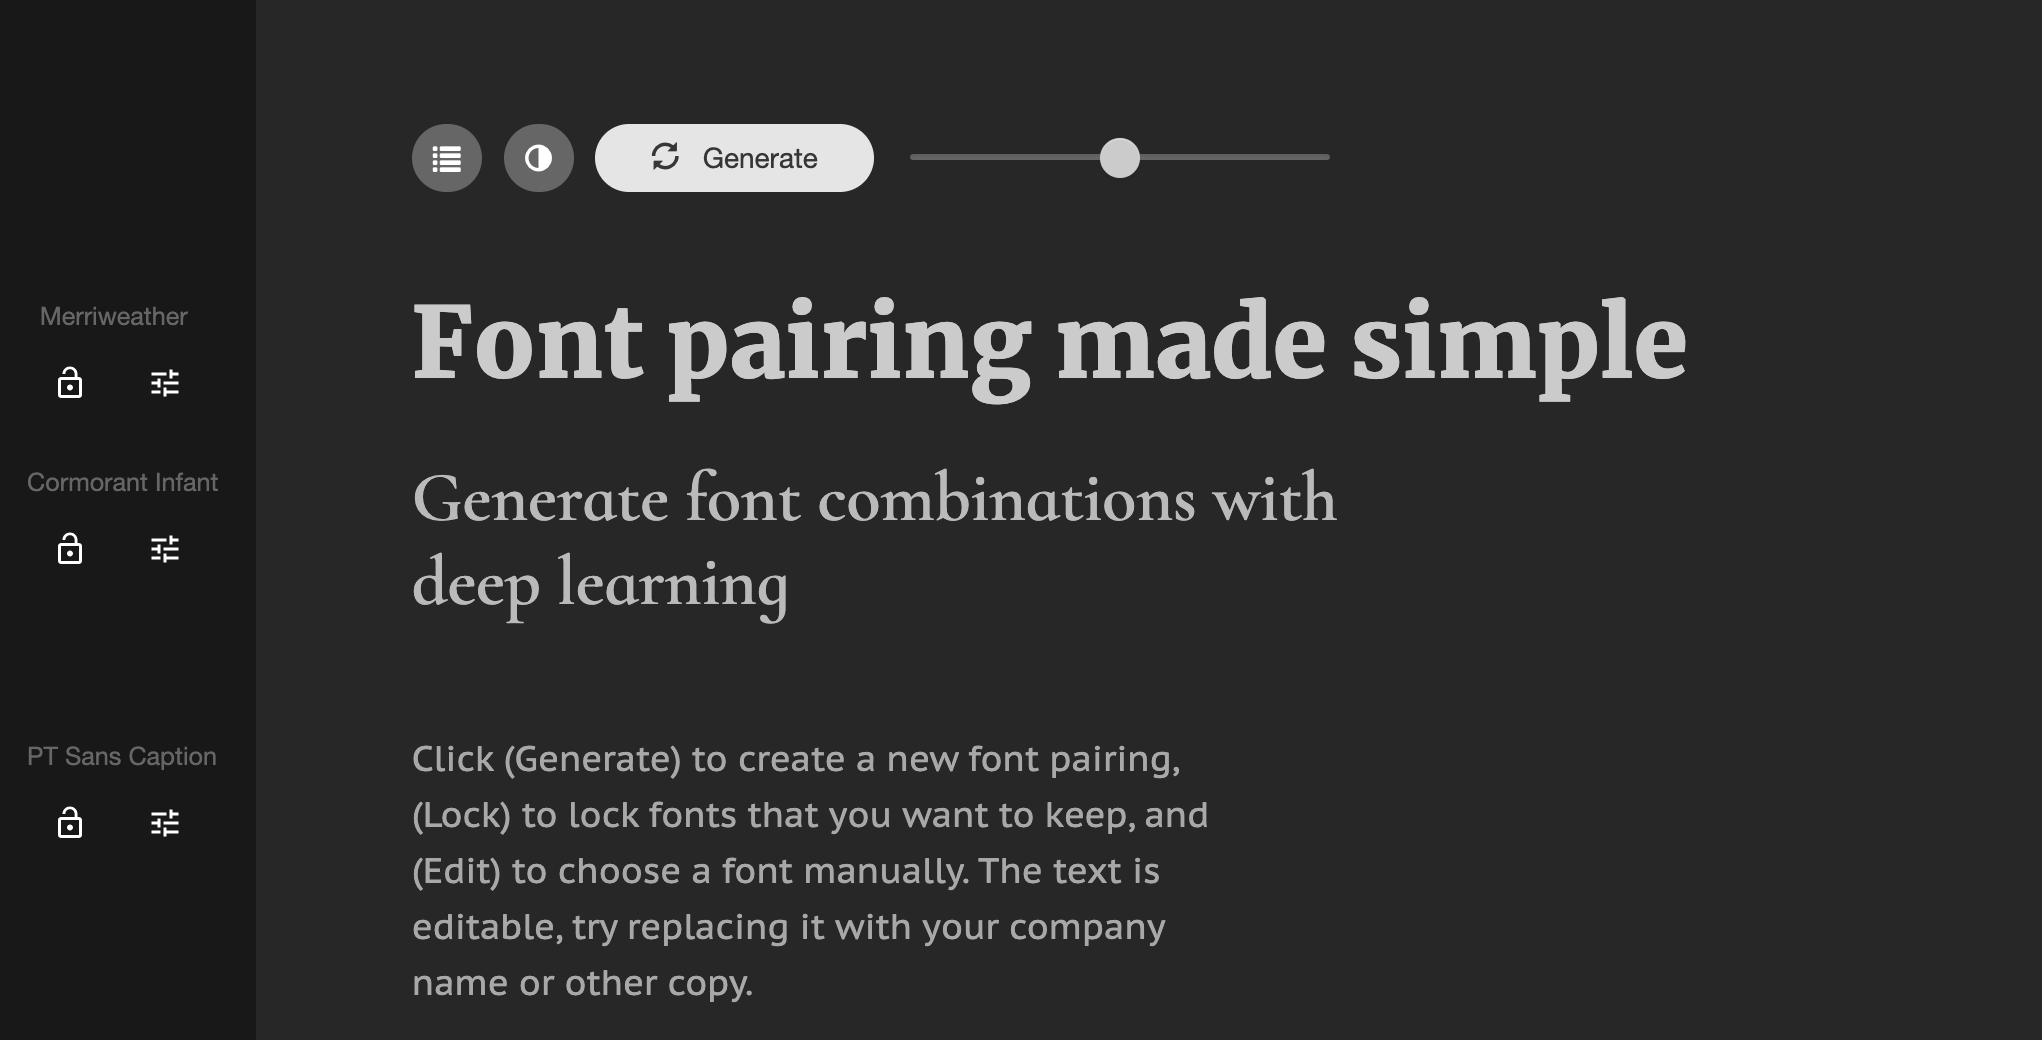
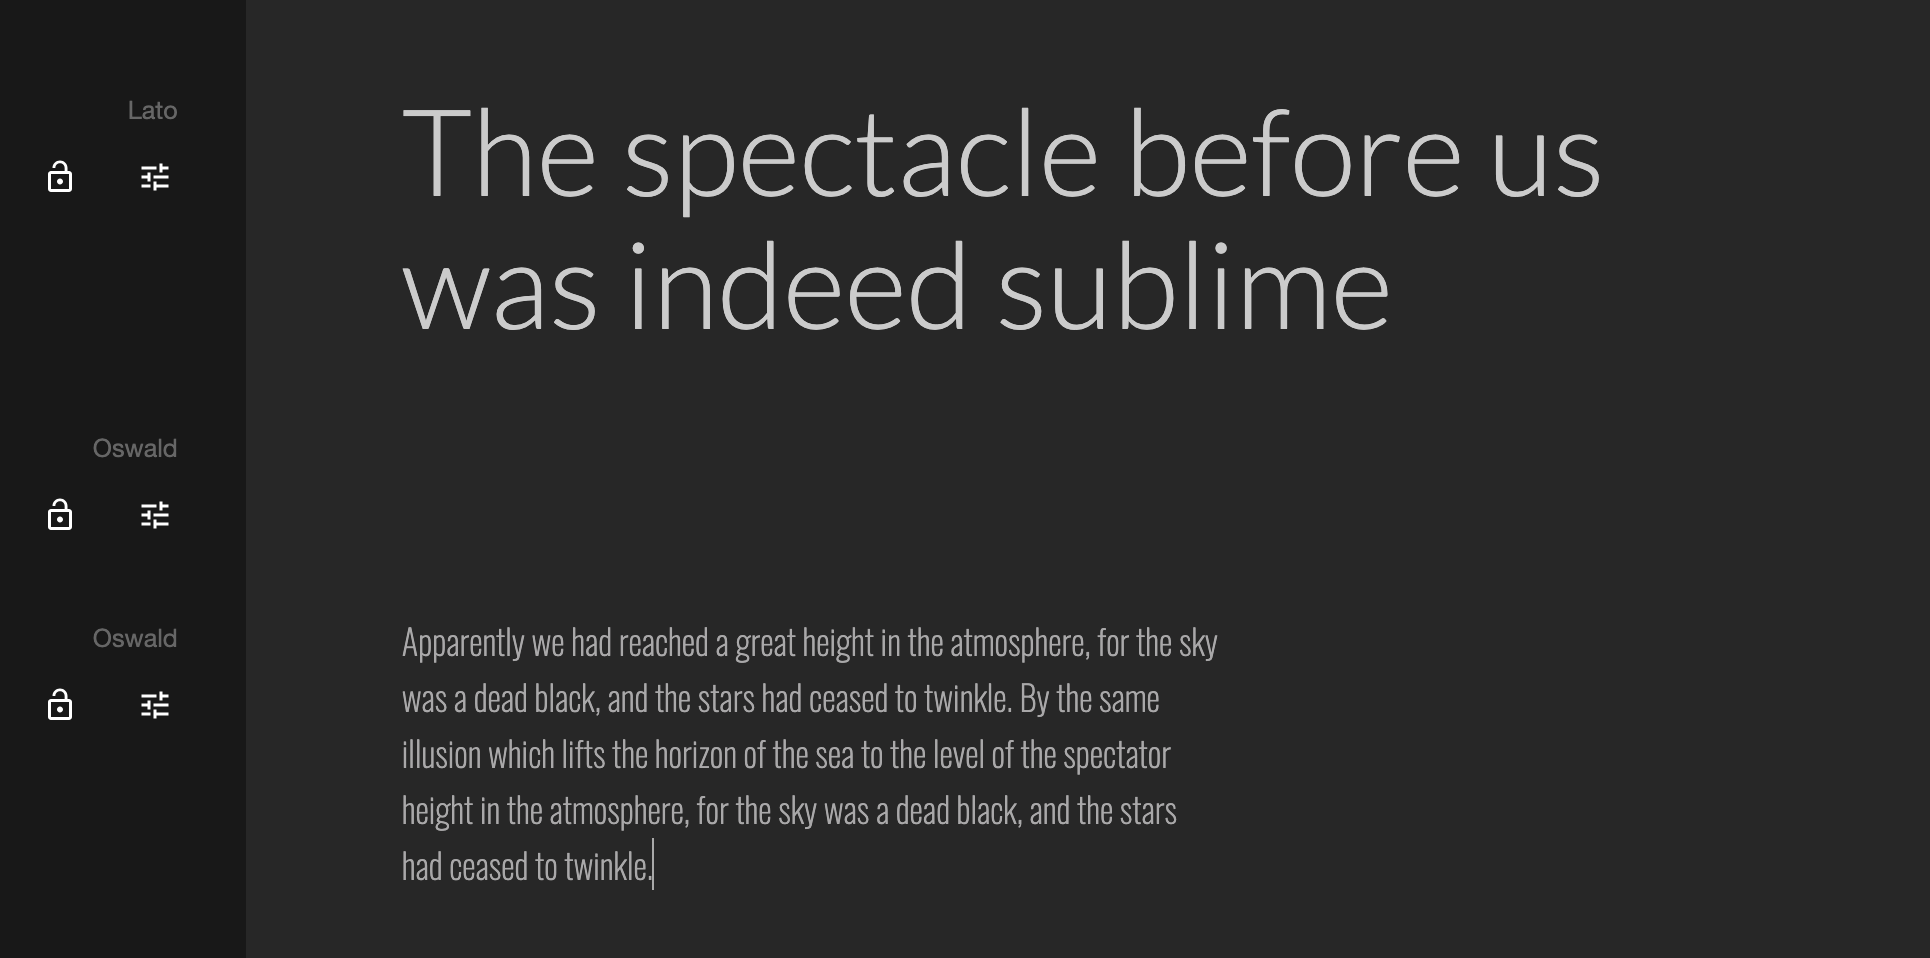
+
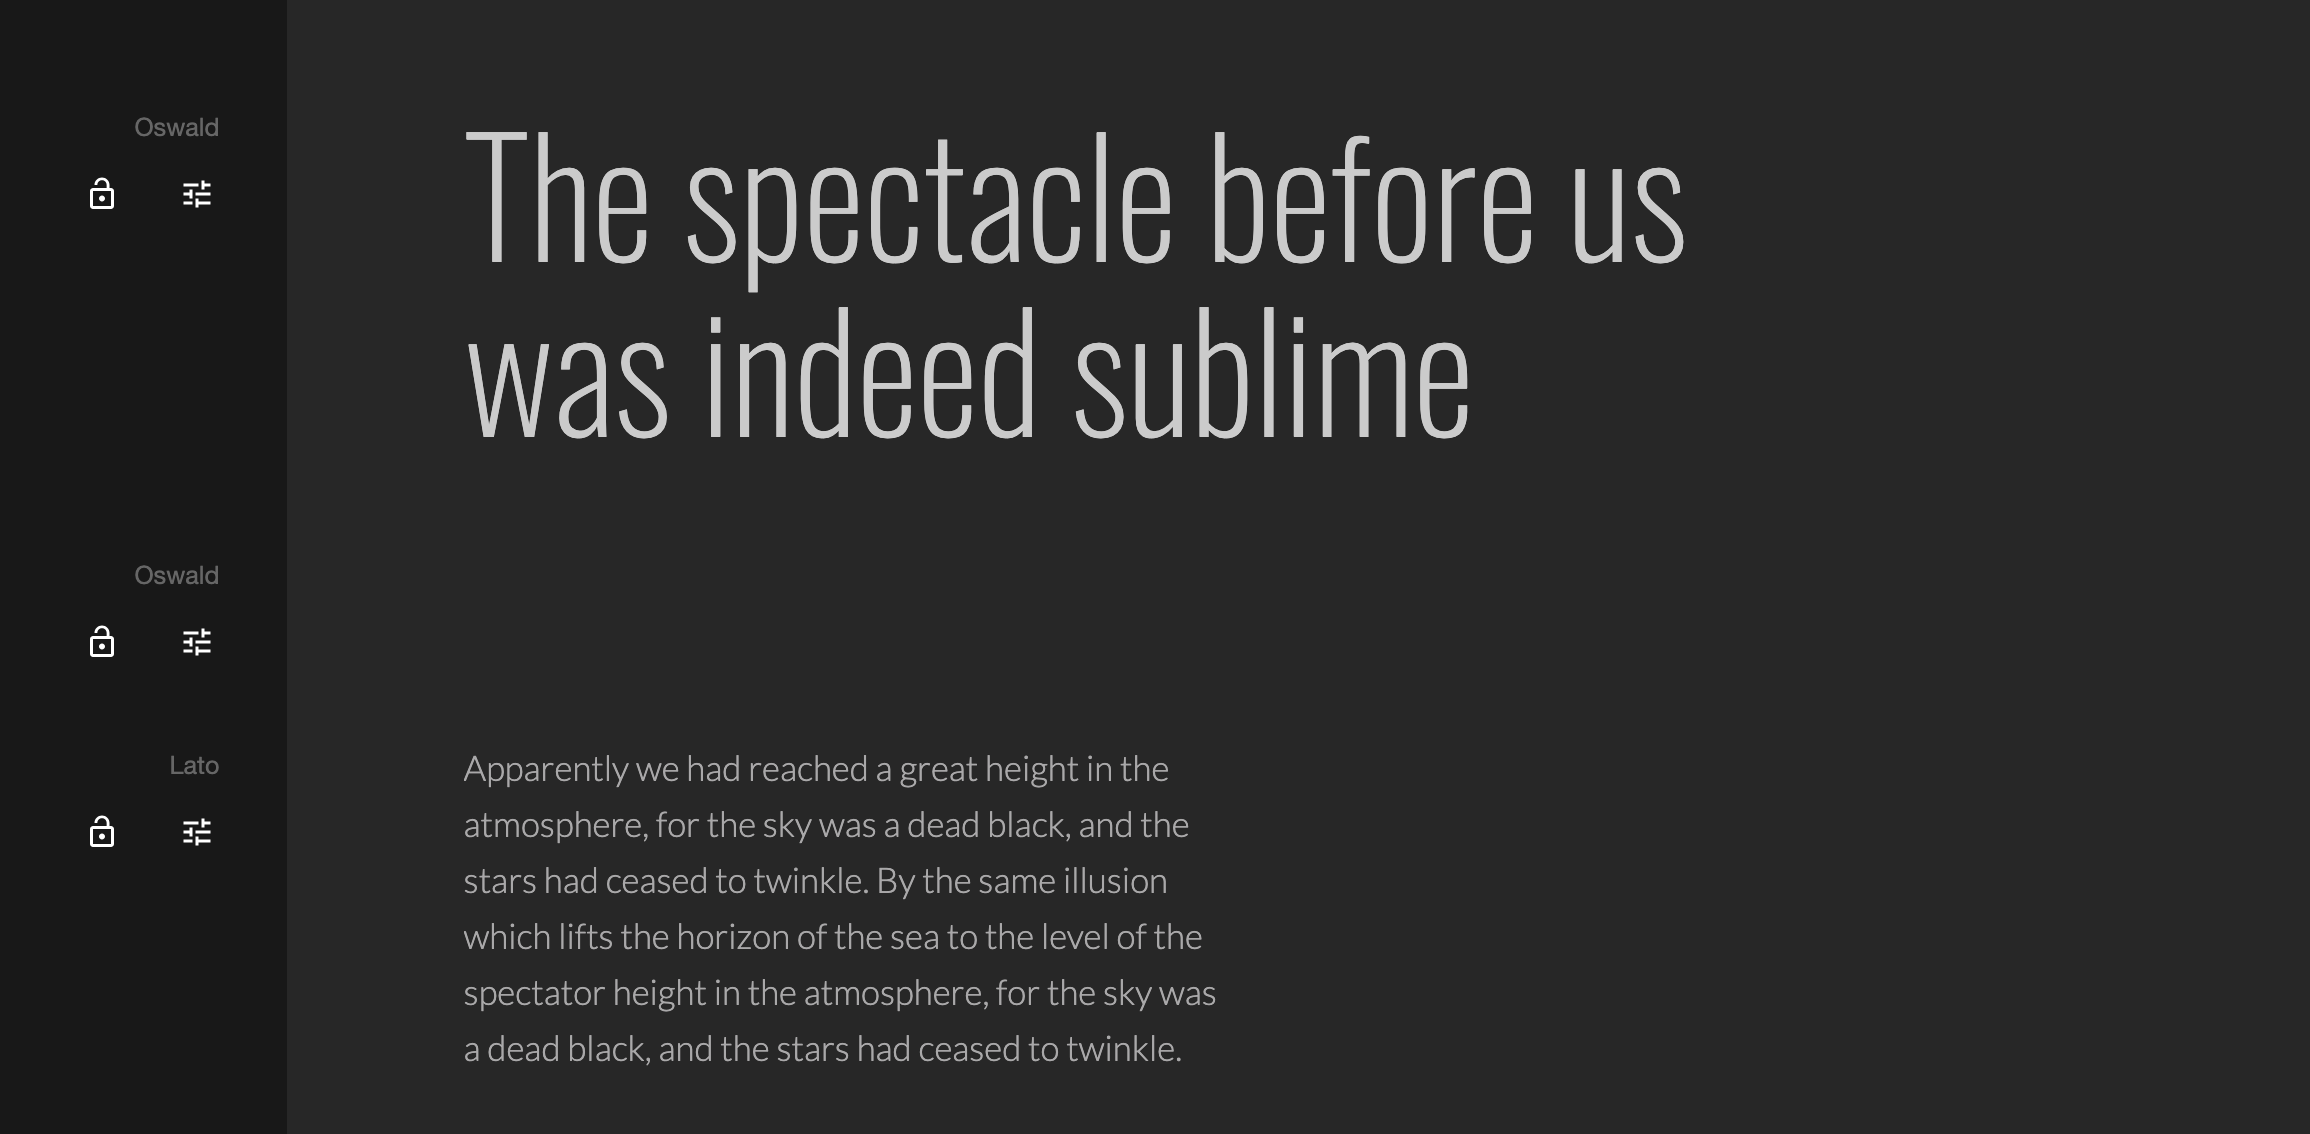
✓
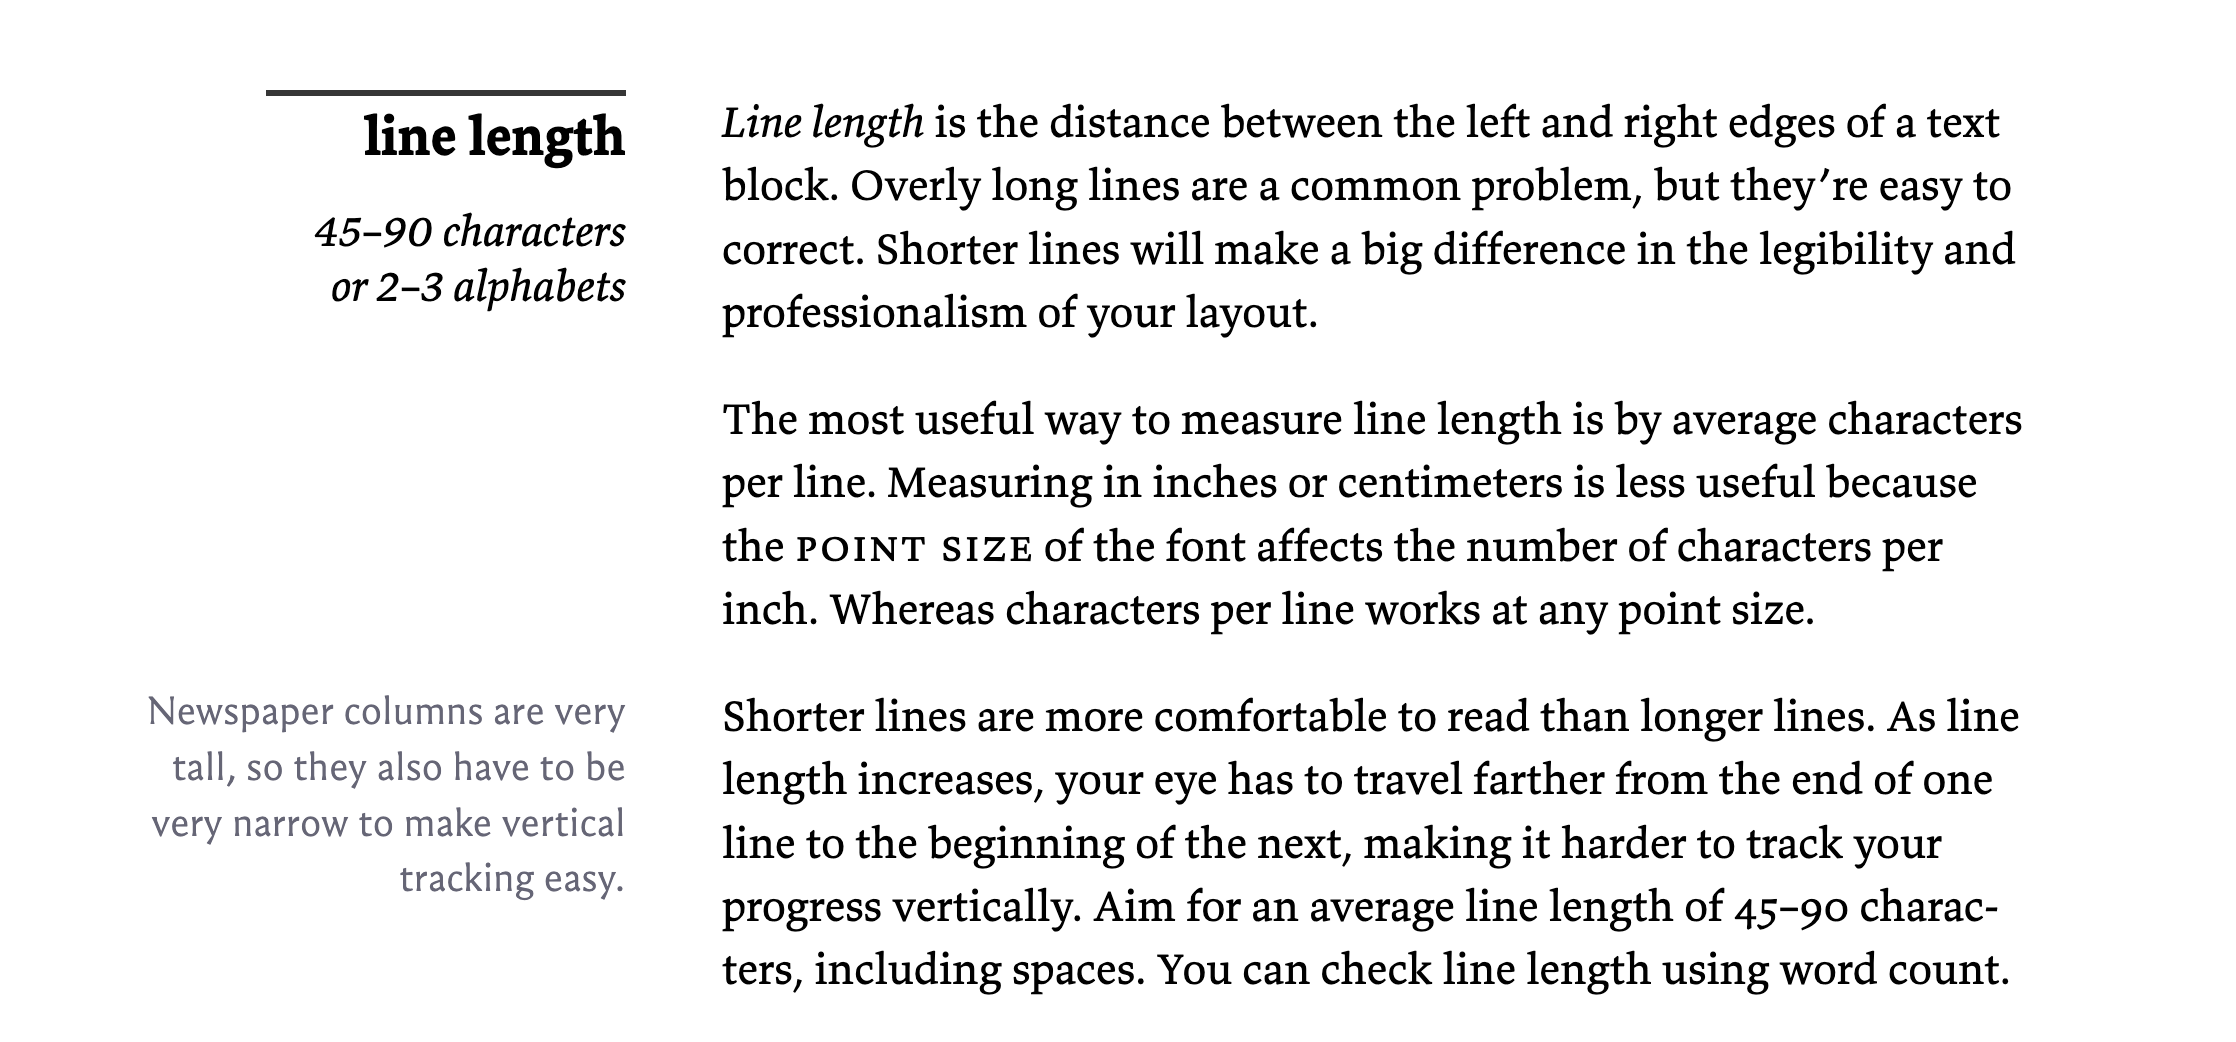
Typographic color
Lorem ipsum dolor sit amet, consectetur adipiscing elit, sed do eiusmod tempor incididunt ut labore et dolore magna aliqua. Ut enim ad minim veniam, quis nostrud exercitation ullamco laboris nisi ut aliquip ex ea commodo consequat. Duis aute irure dolor in reprehenderit in voluptate velit esse cillum dolore eu fugiat nulla pariatur. Excepteur sint occaecat cupidatat non proident, sunt in culpa qui officia deserunt mollit anim id est laborum.
Lorem ipsum dolor sit amet, consectetur adipiscing elit, sed do eiusmod tempor incididunt ut labore et dolore magna aliqua. Ut enim ad minim veniam, quis nostrud exercitation ullamco laboris nisi ut aliquip ex ea commodo consequat. Duis aute irure dolor in reprehenderit in voluptate velit esse cillum dolore eu fugiat nulla pariatur. Excepteur sint occaecat cupidatat non proident, sunt in culpa qui officia deserunt mollit anim id est laborum.
Lorem ipsum dolor sit amet, consectetur adipiscing elit, sed do eiusmod tempor incididunt ut labore et dolore magna aliqua. Ut enim ad minim veniam, quis nostrud exercitation ullamco laboris nisi ut aliquip ex ea commodo consequat. Duis aute irure dolor in reprehenderit in voluptate velit esse cillum dolore eu fugiat nulla pariatur. Excepteur sint occaecat cupidatat non proident, sunt in culpa qui officia deserunt mollit anim id est laborum.
Lorem ipsum dolor sit amet, consectetur adipiscing elit, sed do eiusmod tempor incididunt ut labore et dolore magna aliqua. Ut enim ad minim veniam, quis nostrud exercitation ullamco laboris nisi ut aliquip ex ea commodo consequat. Duis aute irure dolor in reprehenderit in voluptate velit esse cillum dolore eu fugiat nulla pariatur. Excepteur sint occaecat cupidatat non proident, sunt in culpa qui officia deserunt mollit anim id est laborum.
Lorem ipsum dolor sit amet, consectetur adipiscing elit, sed do eiusmod tempor incididunt ut labore et dolore magna aliqua. Ut enim ad minim veniam, quis nostrud exercitation ullamco laboris nisi ut aliquip ex ea commodo consequat. Duis aute irure dolor in reprehenderit in voluptate velit esse cillum dolore eu fugiat nulla pariatur. Excepteur sint occaecat cupidatat non proident, sunt in culpa qui officia deserunt mollit anim id est laborum./li>
Lorem ipsum dolor sit amet, consectetur adipiscing elit, sed do eiusmod tempor incididunt ut labore et dolore magna aliqua. Ut enim ad minim veniam, quis nostrud exercitation ullamco laboris nisi ut aliquip ex ea commodo consequat. Duis aute irure dolor in reprehenderit in voluptate velit esse cillum dolore eu fugiat nulla pariatur. Excepteur sint occaecat cupidatat non proident, sunt in culpa qui officia deserunt mollit anim id est laborum.
Lorem ipsum dolor sit amet, consectetur adipiscing elit, sed do eiusmod tempor incididunt ut labore et dolore magna aliqua. Ut enim ad minim veniam, quis nostrud exercitation ullamco laboris nisi ut aliquip ex ea commodo consequat. Duis aute irure dolor in reprehenderit in voluptate velit esse cillum dolore eu fugiat nulla pariatur. Excepteur sint occaecat cupidatat non proident, sunt in culpa qui officia deserunt mollit anim id est laborum.
Terminology 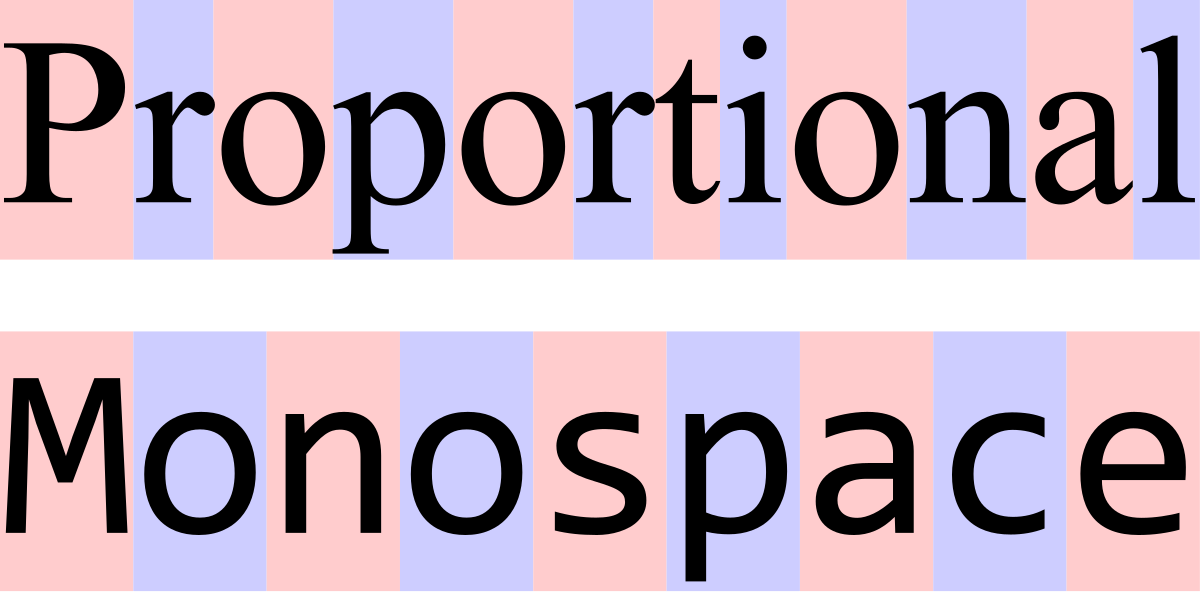
Terminology 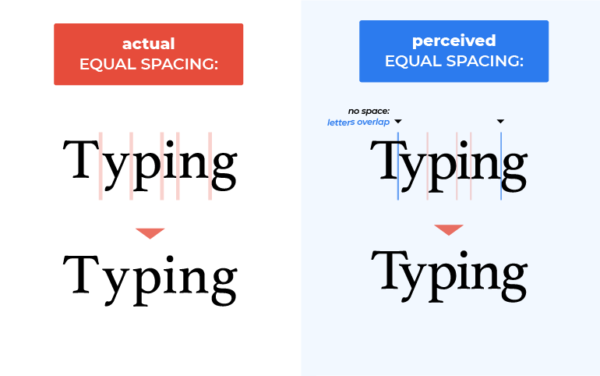
Kerning Gone Wrong 
Terminology 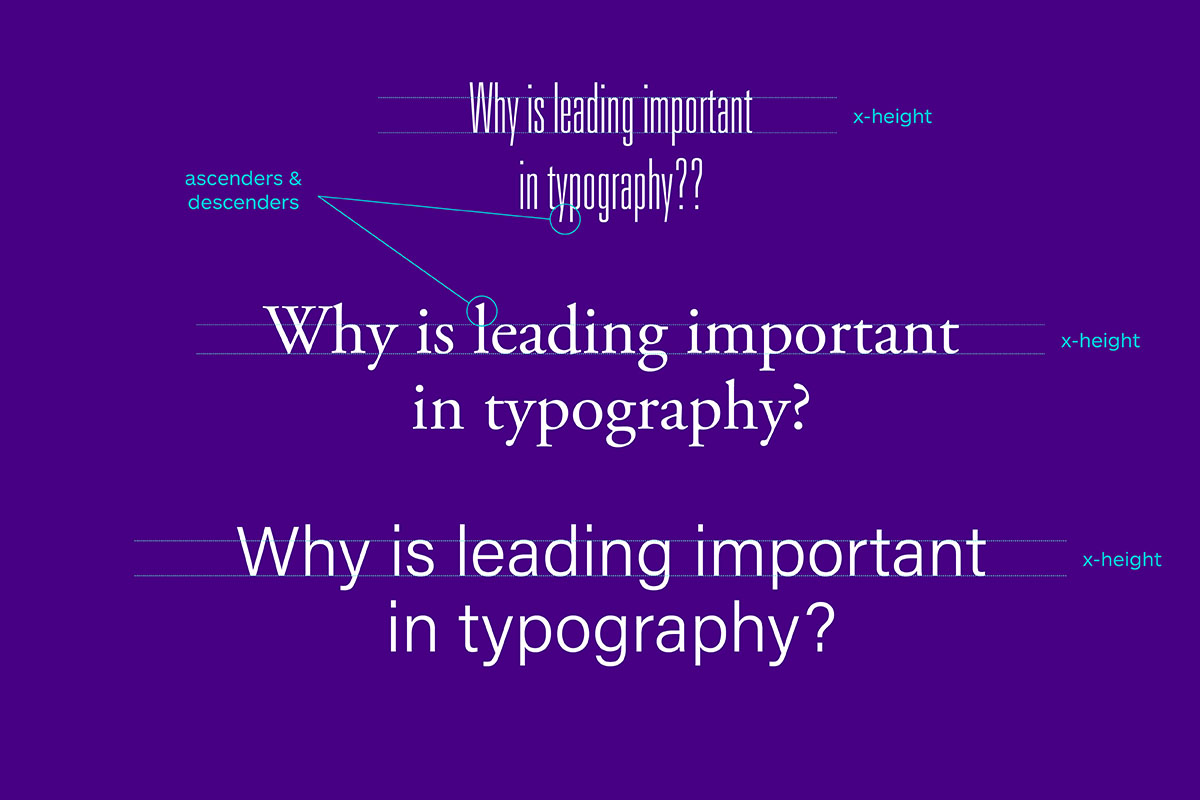
bs_theme accepts specific font parameters:
Helpers such as font_google() allow to serve font files locally 1.
05:00 Taking the previous theme, add a font to it. Don’t forget to leverage bslib font helpers such as font_link() and font_google() …
bs_theme(
  version = 5L,
  primary = "#A5DCFA",
  secondary = NULL,
  success = "#FAF670",
  info = NULL,
  warning = NULL,
  danger = "#FA7D85",
  base_font = font_link(
    "Press Start 2P",
    href = "https://fonts.googleapis.com/css?family=Press+Start+2P"
  ),#font_google("Azeret Mono"),
  code_font = font_google("Fira Code"),
  heading_font = font_google("Inconsolata"),
  font_scale = 1
) |> bs_theme_preview(){shinyMons2} colors 20:00 Considering the layout from the previous part, create a new bslib palette to make {shinyMons2} shining.
To help validate your theme:

Hint
bslib::bs_theme() will be your best friend. You may have a look here to discover more bslib helper functions.
Time to check what you all did 😃
15:00 Users should not guess what the app is doing:
We’ll explore a few topics:
| 👍 Do’s | 👎 Don’ts |
|---|---|
| Proper color | Only rely on color |
| Add icon | Print raw error message |
| Meaningful text | Display error before the element |
| Extra tooltip (on press) | Use toasts (disable auto dismiss) |
| Provide example of valid statement | Don’t highlight correct fields |
| An error summary (accordion) |
library(shiny)
library(shinyvalidate)
ui <- fluidPage(
textInput(
"email",
tagList(icon("envelope"), "Email"),
placeholder = "example: name.surname@domain.com"
)
)
server <- function(input, output, session) {
iv <- InputValidator$new()
iv$add_rule("email", sv_required())
iv$add_rule(
"email",
sv_email(
message = tagList(
icon("exclamation-circle"),
"Error: a valid email should be like:",
span(class = "underline", "name.surname@domain.com")
)
)
)
iv$enable()
}ui <- fluidPage(
textInput("name", "Name"),
textInput("surname", "Surname"),
textOutput("res")
)
server <- function(input, output) {
output$res <- renderText({
if (nchar(input$name) == 0 || nchar(input$surname) == 0) {
validate("Fill all the inputs to see the result")
} else {
paste0(input$name, input$surname)
}
})
}if statement: condition for which the message will be shown.| High attention | Medium attention | Lower attention |
|---|---|---|
| Blocking, no auto close | No auto close | Auto close |
| Modal with overlay | Toast | Toast |
| Meaningful icon | Meaningful icon | Meaningful icon |
ui <- fluidPage(
  actionButton(
    "run",
    "Run simulation",
    icon = icon("calculator")
  )
)

server <- function(input, output, session) {
  observeEvent(input$run, {
    Sys.sleep(2)
    showModal(
      modalDialog(
        title = tagList(
          icon("xmark"),
          "Error: computation failed."
        ),
        p("Error description (depends on user level...)"),
        br(),
        tagList(
          icon("exclamation-circle"),
          "Parameter a is ..."
        )
      )
    )
  })
}tryCatch is your friend.observeEvent(input$run, {
res <- sample(c(FALSE, TRUE), 1)
tryCatch({
if (res) {
showNotification(
ui = tagList(
icon("check"),
"Computation successful."
)
)
} else {
stop("<Error message>")
}
}, error = function(e) {
showModal(
modalDialog(
title = tagList(
icon("xmark"),
"Error: computation failed."
),
sprintf("%s", e$message)
)
)
})
})tryCatch.{shinyMons2} 10:00 Taking our {shinyMons2} app, the select_pokemon() function has unpredictible behavior and may crash. Leverage tryCatch so that the app can handle success (notification) or errors (modal).
select_pokemon <- function(selected) {
  # We make the function slow on purpose.

  # WORKSHOP TODO
  # Find a way to warn the user about this waiting time ...
  Sys.sleep(5)

  # We simulate an imaginary failing API connection
  # This randomly fails so the function result
  # isn't predictable...and the app crashes without
  # notifying the user of what happened...

  # WORKSHOP TODO
  # Find a way to make this function elegantly failing
  # and warn the end user ...
  res <- sample(c(FALSE, TRUE), 1)
  if (!res) {
    stop("Could not connect to the Pokemon API ...")
  } else {
    poke_data[[selected]]
  }
}select_pokemon <- function(selected, session) {
# We make the function slow on purpose.
# WORKSHOP TODO
# Find a way to warn the user about this waiting time ...
Sys.sleep(5)
res <- sample(c(FALSE, TRUE), 1)
tryCatch({
if (res) {
showNotification(
ui = tagList(
icon("check", class = "fa-2xl"),
"Successfully connected to the Pokemon API ..."
)
)
poke_data[[selected]]
} else {
stop("Could not connect to the Pokemon API ...")
}
}, error = function(e) {
showModal(
modalDialog(
title = tagList(
icon("xmark", class = "fa-2xl"),
"Error..."
),
sprintf("%s", e$message),
br(),
a(
onclick = "location.reload()",
"Reload app?",
href = "#",
style = "color: white"
)
)
)
})
}render_* and observe_* with {elvis}: https://github.com/ThinkR-open/elvis.When we don’t necessarily know the waiting time …
When the app is loading, you can display a spinner with Waiter.
server <- function(input, output, session) {
  # create a waiter
  state <- reactiveValues(loaded = FALSE)
  w <- Waiter$new()

  # on button click
  observeEvent(req(!state$loaded), {
    w$show()
    tryCatch({
      connect_db(w)
      w$update(
        html = tagList(
          icon("circle-check", class = "fa-2xl"),
          h3("Success: connected")
        )
      )
      Sys.sleep(1)
      state$loaded <- TRUE
    }, error = function(e) {
      w$update(
        html = tagList(
          icon("circle-xmark", class = "fa-2xl"),
          h3(sprintf("Error: %s", e$message)),
          a(
            onclick = "location.reload()",
            "Reload app?",
            href = "#",
            style = "color: white"
          )
        )
      )
      Sys.sleep(3)
    })
  })

  observeEvent(req(state$loaded), {
    w$hide()
  })
}{shinyMons2} 20:00 Taking our {shinyMons2} app, the select_pokemon() function is still slow. Modify the previous function so that it leverage waiter to display a loading screen at start and each time the selected pokemon changes.
app_ui.R with waiter::useWaiter().mod_poke_select_server with Waiter$new().eventReactive by observEvent and store the selected pokemon is a reactiveVal.w parameter to select_pokemon to pass the waiter.select_pokemon, replace showNotification and showModal by waiter$show(), waiter$update().# utils.R
select_pokemon <- function(selected, w) {
w$show()
w$update(
html = tagList(
spin_flower(),
h3(sprintf("Getting %s data ...", selected))
)
)
Sys.sleep(5)
res <- sample(c(FALSE, TRUE), 1)
tryCatch({
if (res) {
w$show()
w$update(
html = tagList(
icon("circle-check", class = "fa-2xl"),
h3("Success ...")
)
)
Sys.sleep(1)
w$hide()
poke_data[[selected]]
} else {
stop("Could not connect to the Pokemon API ...")
}
}, error = function(e) {
w$update(
html = tagList(
icon("circle-xmark", class = "fa-2xl"),
h3(sprintf("Error: %s", e$message)),
a(
onclick = "location.reload()",
"Reload app?",
href = "#",
style = "color: white"
)
)
)
Sys.sleep(5)
w$hide()
NULL
})
}For async tasks, we indicate local computation with waiter::Waitress …
ui <- fluidPage(
  useWaitress(),
  fluidRow(
    column(
      width = 6,
      h3("Long task"),
      actionButton("go", "Run long task"),
      plotOutput("long_task")
    ),
    column(
      width = 6,
      wellPanel(
        h3("Other task"),
        checkboxGroupInput(
          "variable",
          "Variables to show:",
          c(
            "Cylinders" = "cyl",
            "Transmission" = "am",
            "Gears" = "gear"
          )
        ),
        tableOutput("quick_task")
      )
    )
  )
)
server <- function(input, output, session) {
vals <- reactiveValues(job = list(el = NULL, res = NULL))
# create a waitress
waitress <- Waitress$new(
"#go",
theme = "overlay-opacity",
infinite = TRUE
)
observeEvent(input$go, {
vals$job$el <- NULL
vals$job$res <- NULL
waitress$start()
vals$job$el <- callr::r_bg(
func = bg_task,
supervise = TRUE
)
})
observe({
invalidateLater(1000)
req(vals$job$el)
if (!vals$job$el$is_alive()) {
vals$job$res <- vals$job$el$get_result()
waitress$close()
}
})
# Render the background process message to the UI
output$long_task <- renderPlot({
if (!is.null(vals$job$res)) {
plot(vals$job$res)
}
})
output$quick_task <- renderTable({
mtcars[, c("mpg", input$variable), drop = FALSE]
}, rownames = TRUE)
}| tooltips | popovers | |
|---|---|---|
| What? | Bubble appearing on hover over an element | Card with title and body on press/hover |
| How to use? | Display help, supplement input validation, avoid long text | Print extra info, links, … without cluttering/overloading the main UI |


Instead of using placeholder field, we can show a tooltip.
popover()A value box
130
More info here

value_box(
  title = "A value box",
  value = 130,
  theme_color = "light",
  showcase = bs_icon("arrow-up"),
  p(
    "More info here",
    popover(
      bs_icon("info-circle"),
      title = "Breaking news!",
      placement = "bottom",
      options = list(html = TRUE),
      tagList(
        tags$b("These few lines of text will change your life forever."),
        tags$img(src = "https://placehold.jp/150x150.png")
      )
    )
  )
){shinyMons2} 10:00 First of all congrats for reaching this part!
As you may imagine, we only scratched the surface of web design. We’d like to advise you to:
Thanks for attenting this workshop.
We hope it will give you some inspiration on your upcoming or ongoing projects.
Please go to pos.it/conf-workshop-survey. Your feedback is crucial! Data from the survey informs curriculum and format decisions for future conf workshops, and we really appreciate you taking the time to provide it.